UeToolkit User Guide
Complete user guide for UeToolkit toolbox, including project management, asset management, AI assistant, and configuration tools
Quick Start
Project Management
-
Centralized Scanning: Automatically retrieves all Unreal Engine projects on local disk, enabling one-stop navigation and quick launch for multi-version projects.
-
Lossless Renaming: Supports one-click renaming logic for Blueprint projects, ensuring renaming doesn’t affect packaging and deployment through automated path association handling (C++ project support in development).
Asset Management
-
Multi-dimensional Asset Support: Supports unified warehousing of four packaging structures:
CONTENT(asset packages),PLUGIN(plugins),PROJECT(complete projects), andOTHERS(general multimedia). -
Automatic Metadata Recognition: Automatically analyzes asset structure during warehousing, identifies corresponding Unreal Engine version and asset type, reducing manual maintenance costs.
-
Resource Organization Optimization: Built-in intelligent filtering mechanism supports automatic decompression, deduplication, and ad file filtering to keep asset library clean.
AI Assistant
- Logic Audit: Uses AI for deep analysis of library assets, supports structured analysis of individual assets or entire asset library.
- Blueprint Analysis (UE 5.4): Based on Socket communication and UE plugin linkage, supports read-only mode logic analysis and fault diagnosis for version 5.4 Blueprints.
Configuration Tools
- Configuration Mirroring: Supports snapshot saving of project’s User Preferences and Project Settings.
- One-click Sync: Enables quick application of configurations across different projects, currently perfectly adapted for UE4 environment development flow.
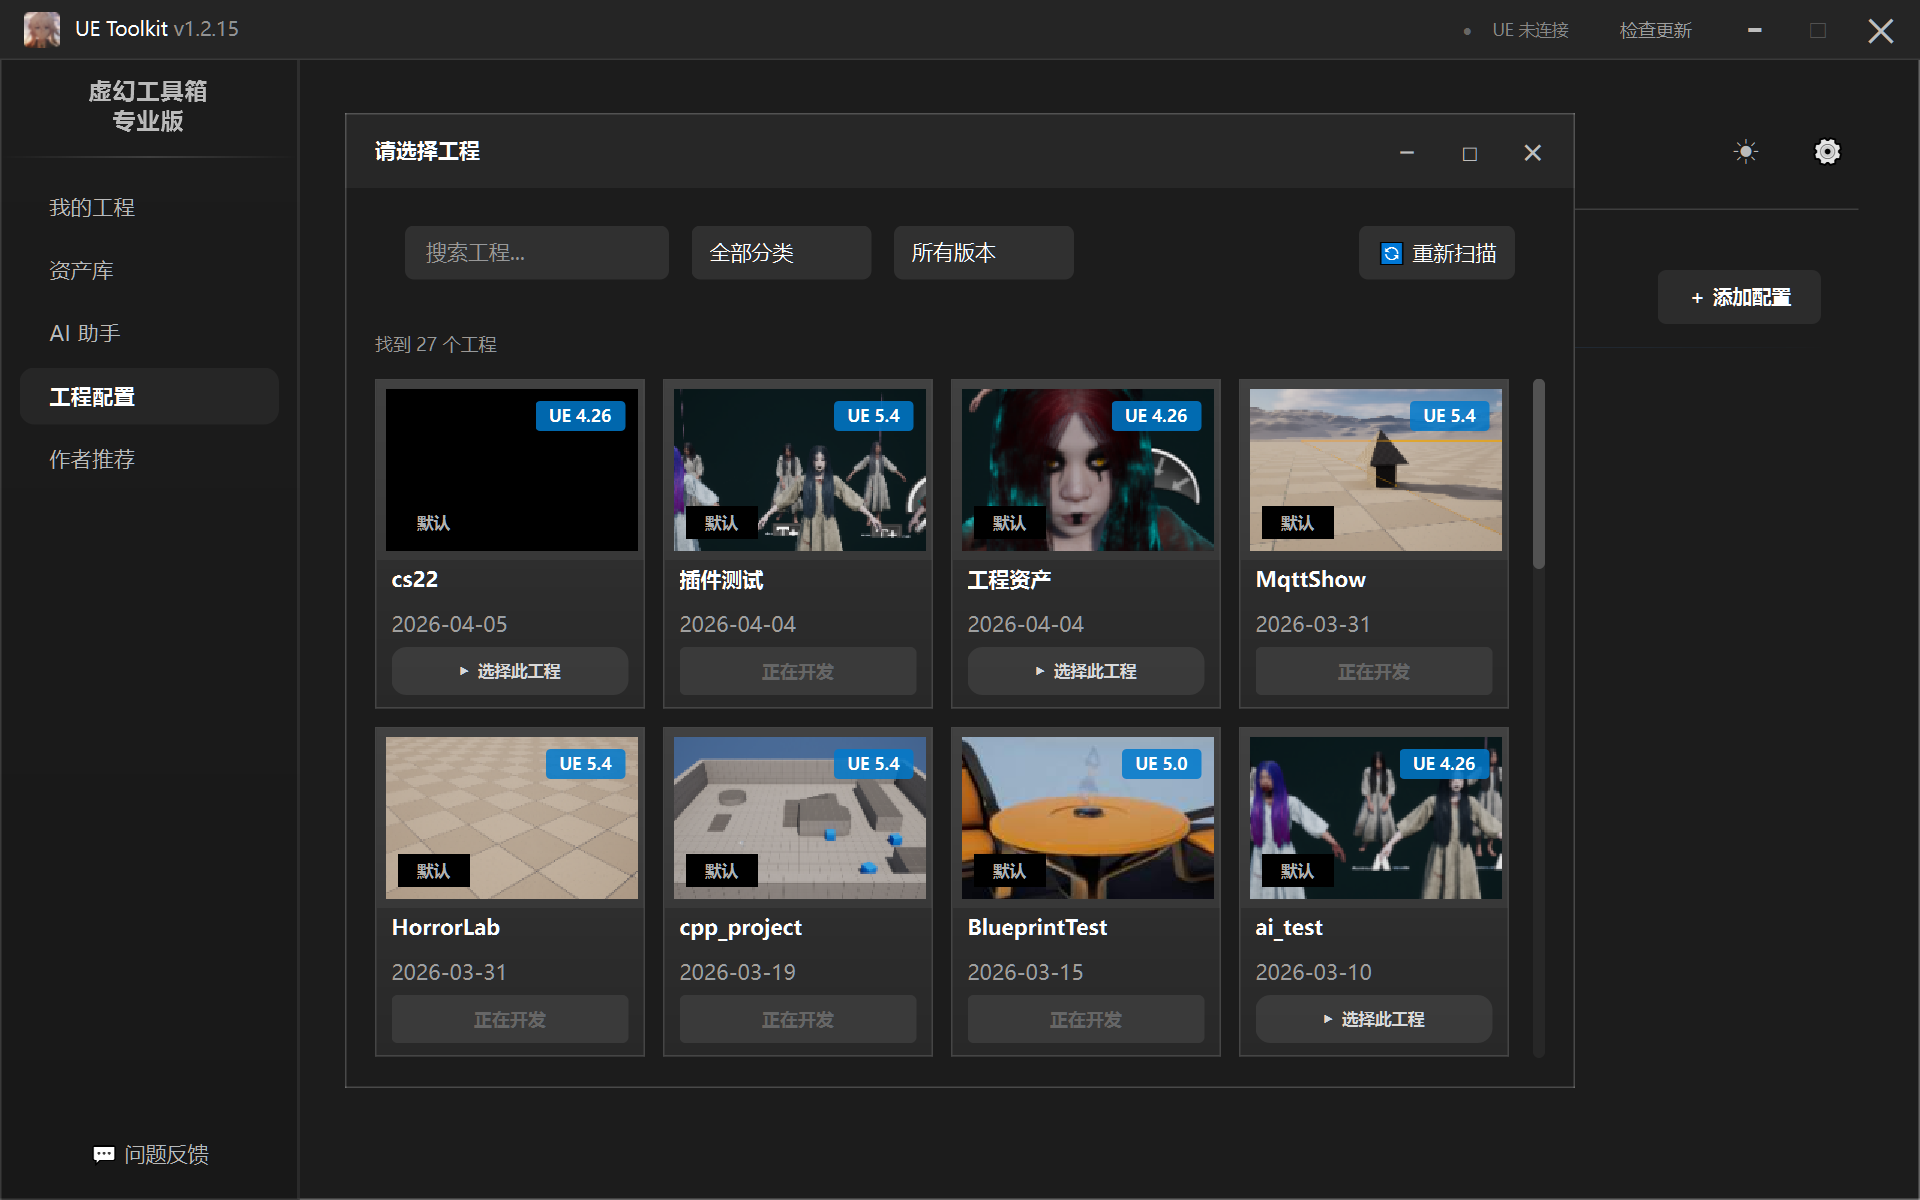
1. Project Management
When opening the toolbox for the first time, it will scan projects. Loading will be slower. After scanning completes, it looks like this:
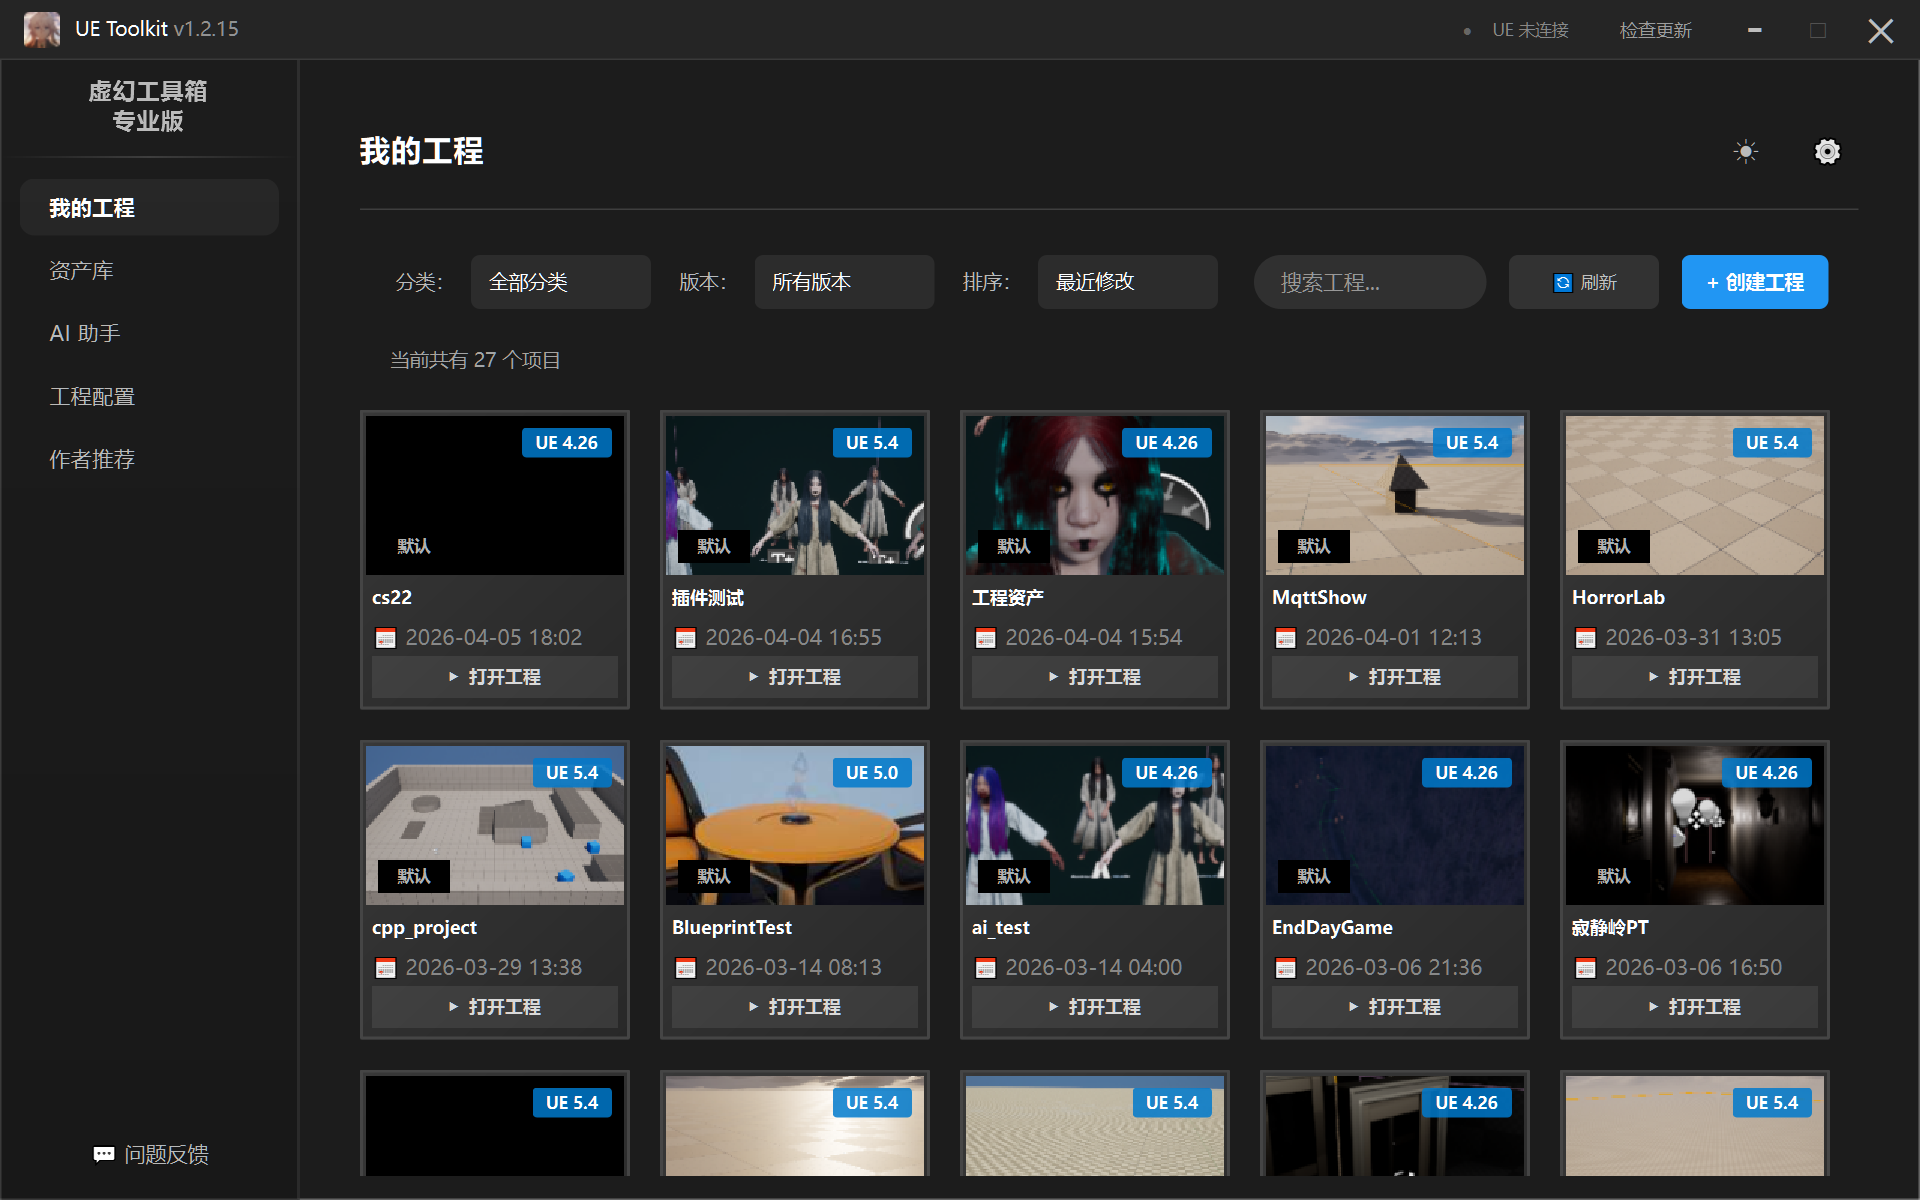
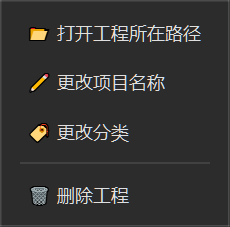
Right-click menu supports the following functions:
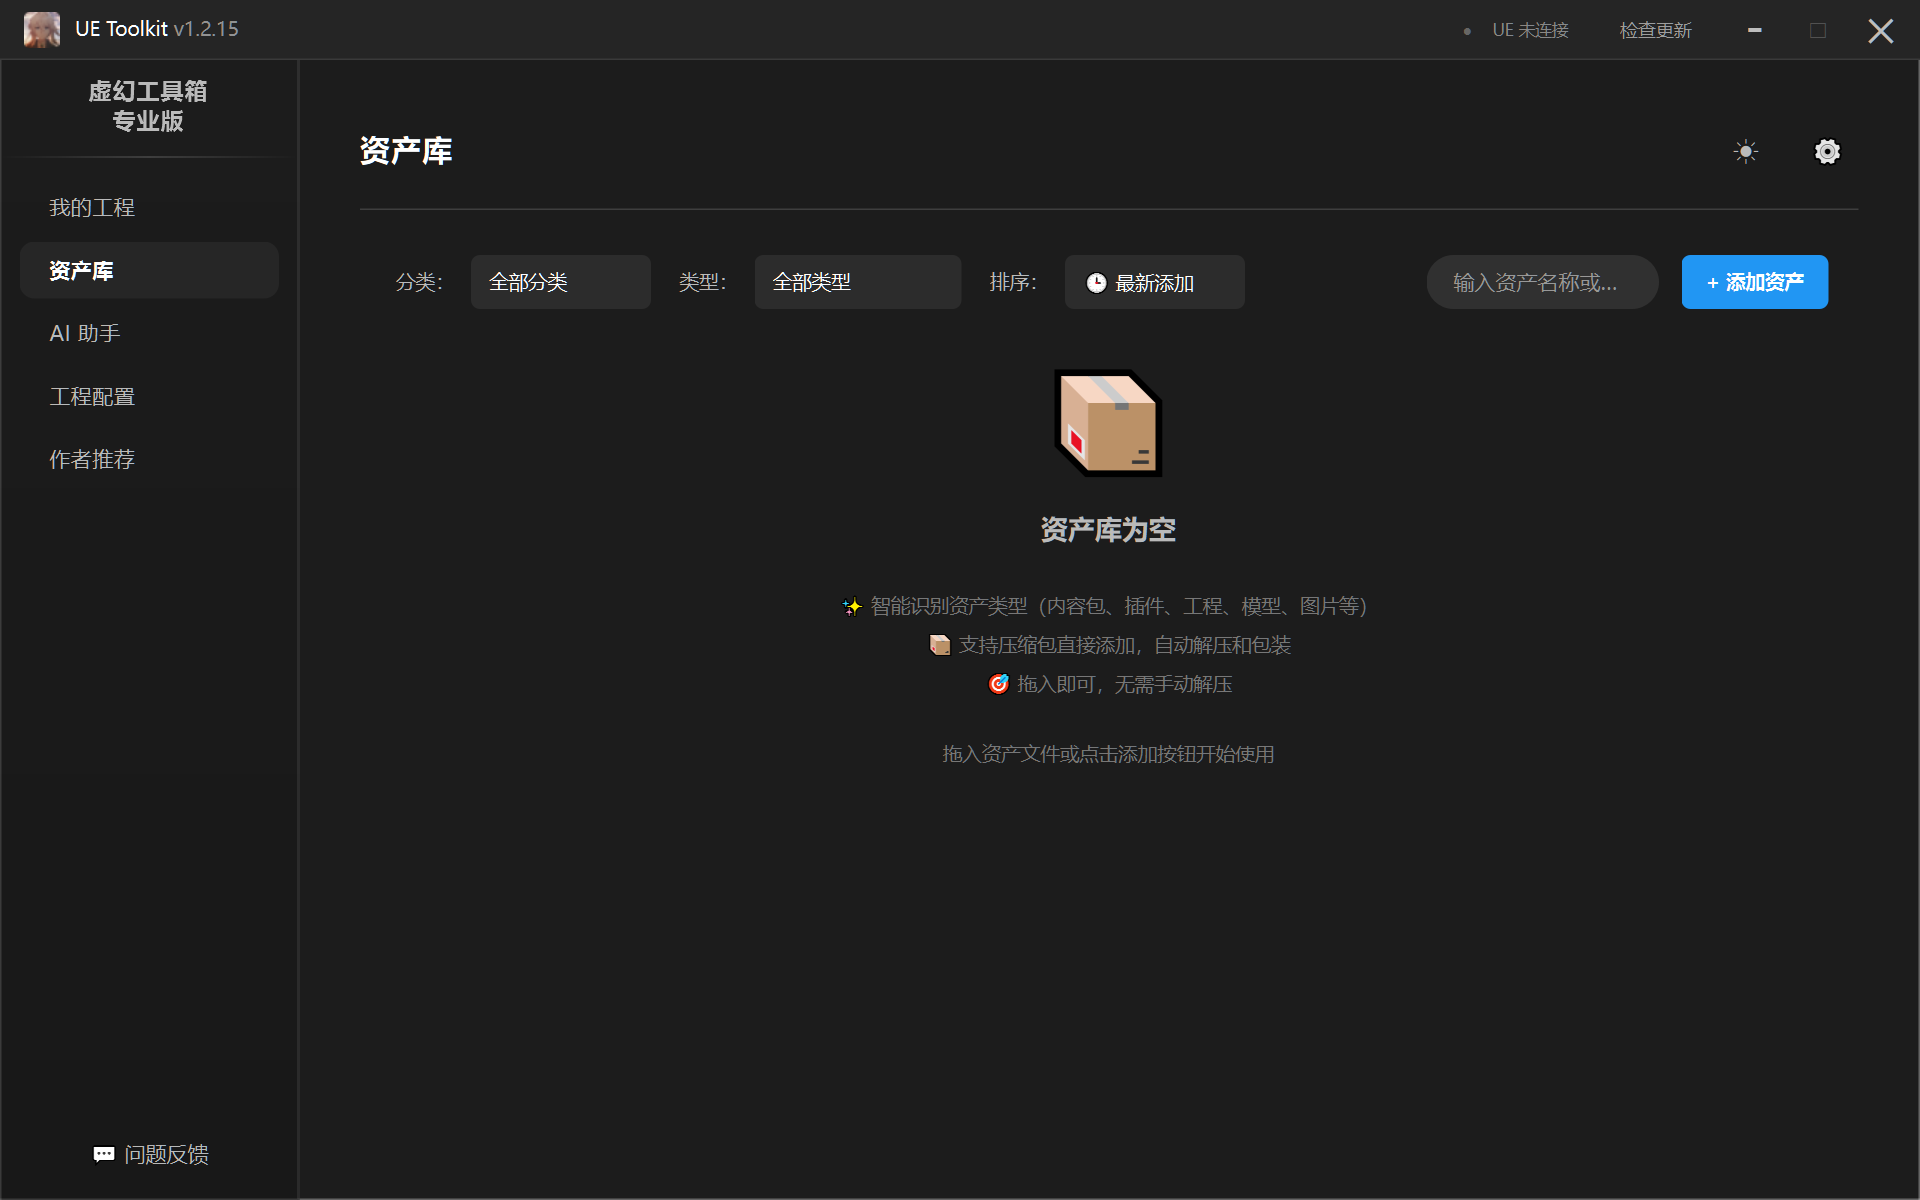
2. Asset Management
2.1 Adding Assets
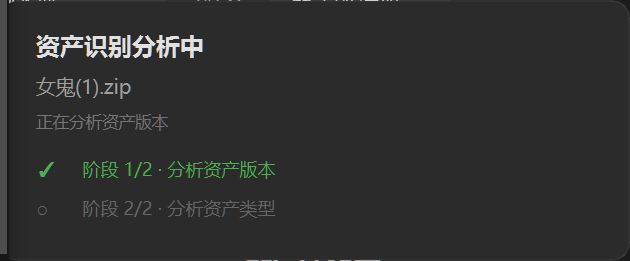
Supports drag-and-drop addition and addition through toolbox. Adding assets supports two formats: compressed packages and folders. The toolbox will automatically identify asset types for both formats. Recognizable types include asset packages, plugins, projects, models, and other resources.
Whether compressed package or folder, it will intelligently identify asset type, eliminating the trouble of manually decompressing and adjusting to appropriate structure before importing.
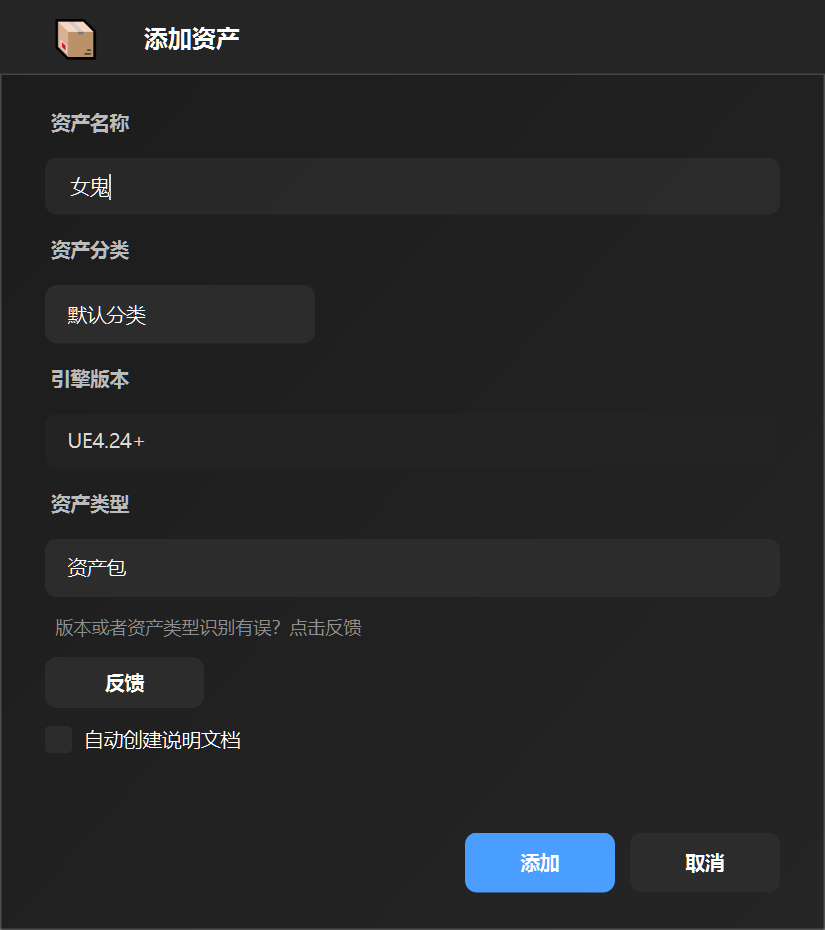
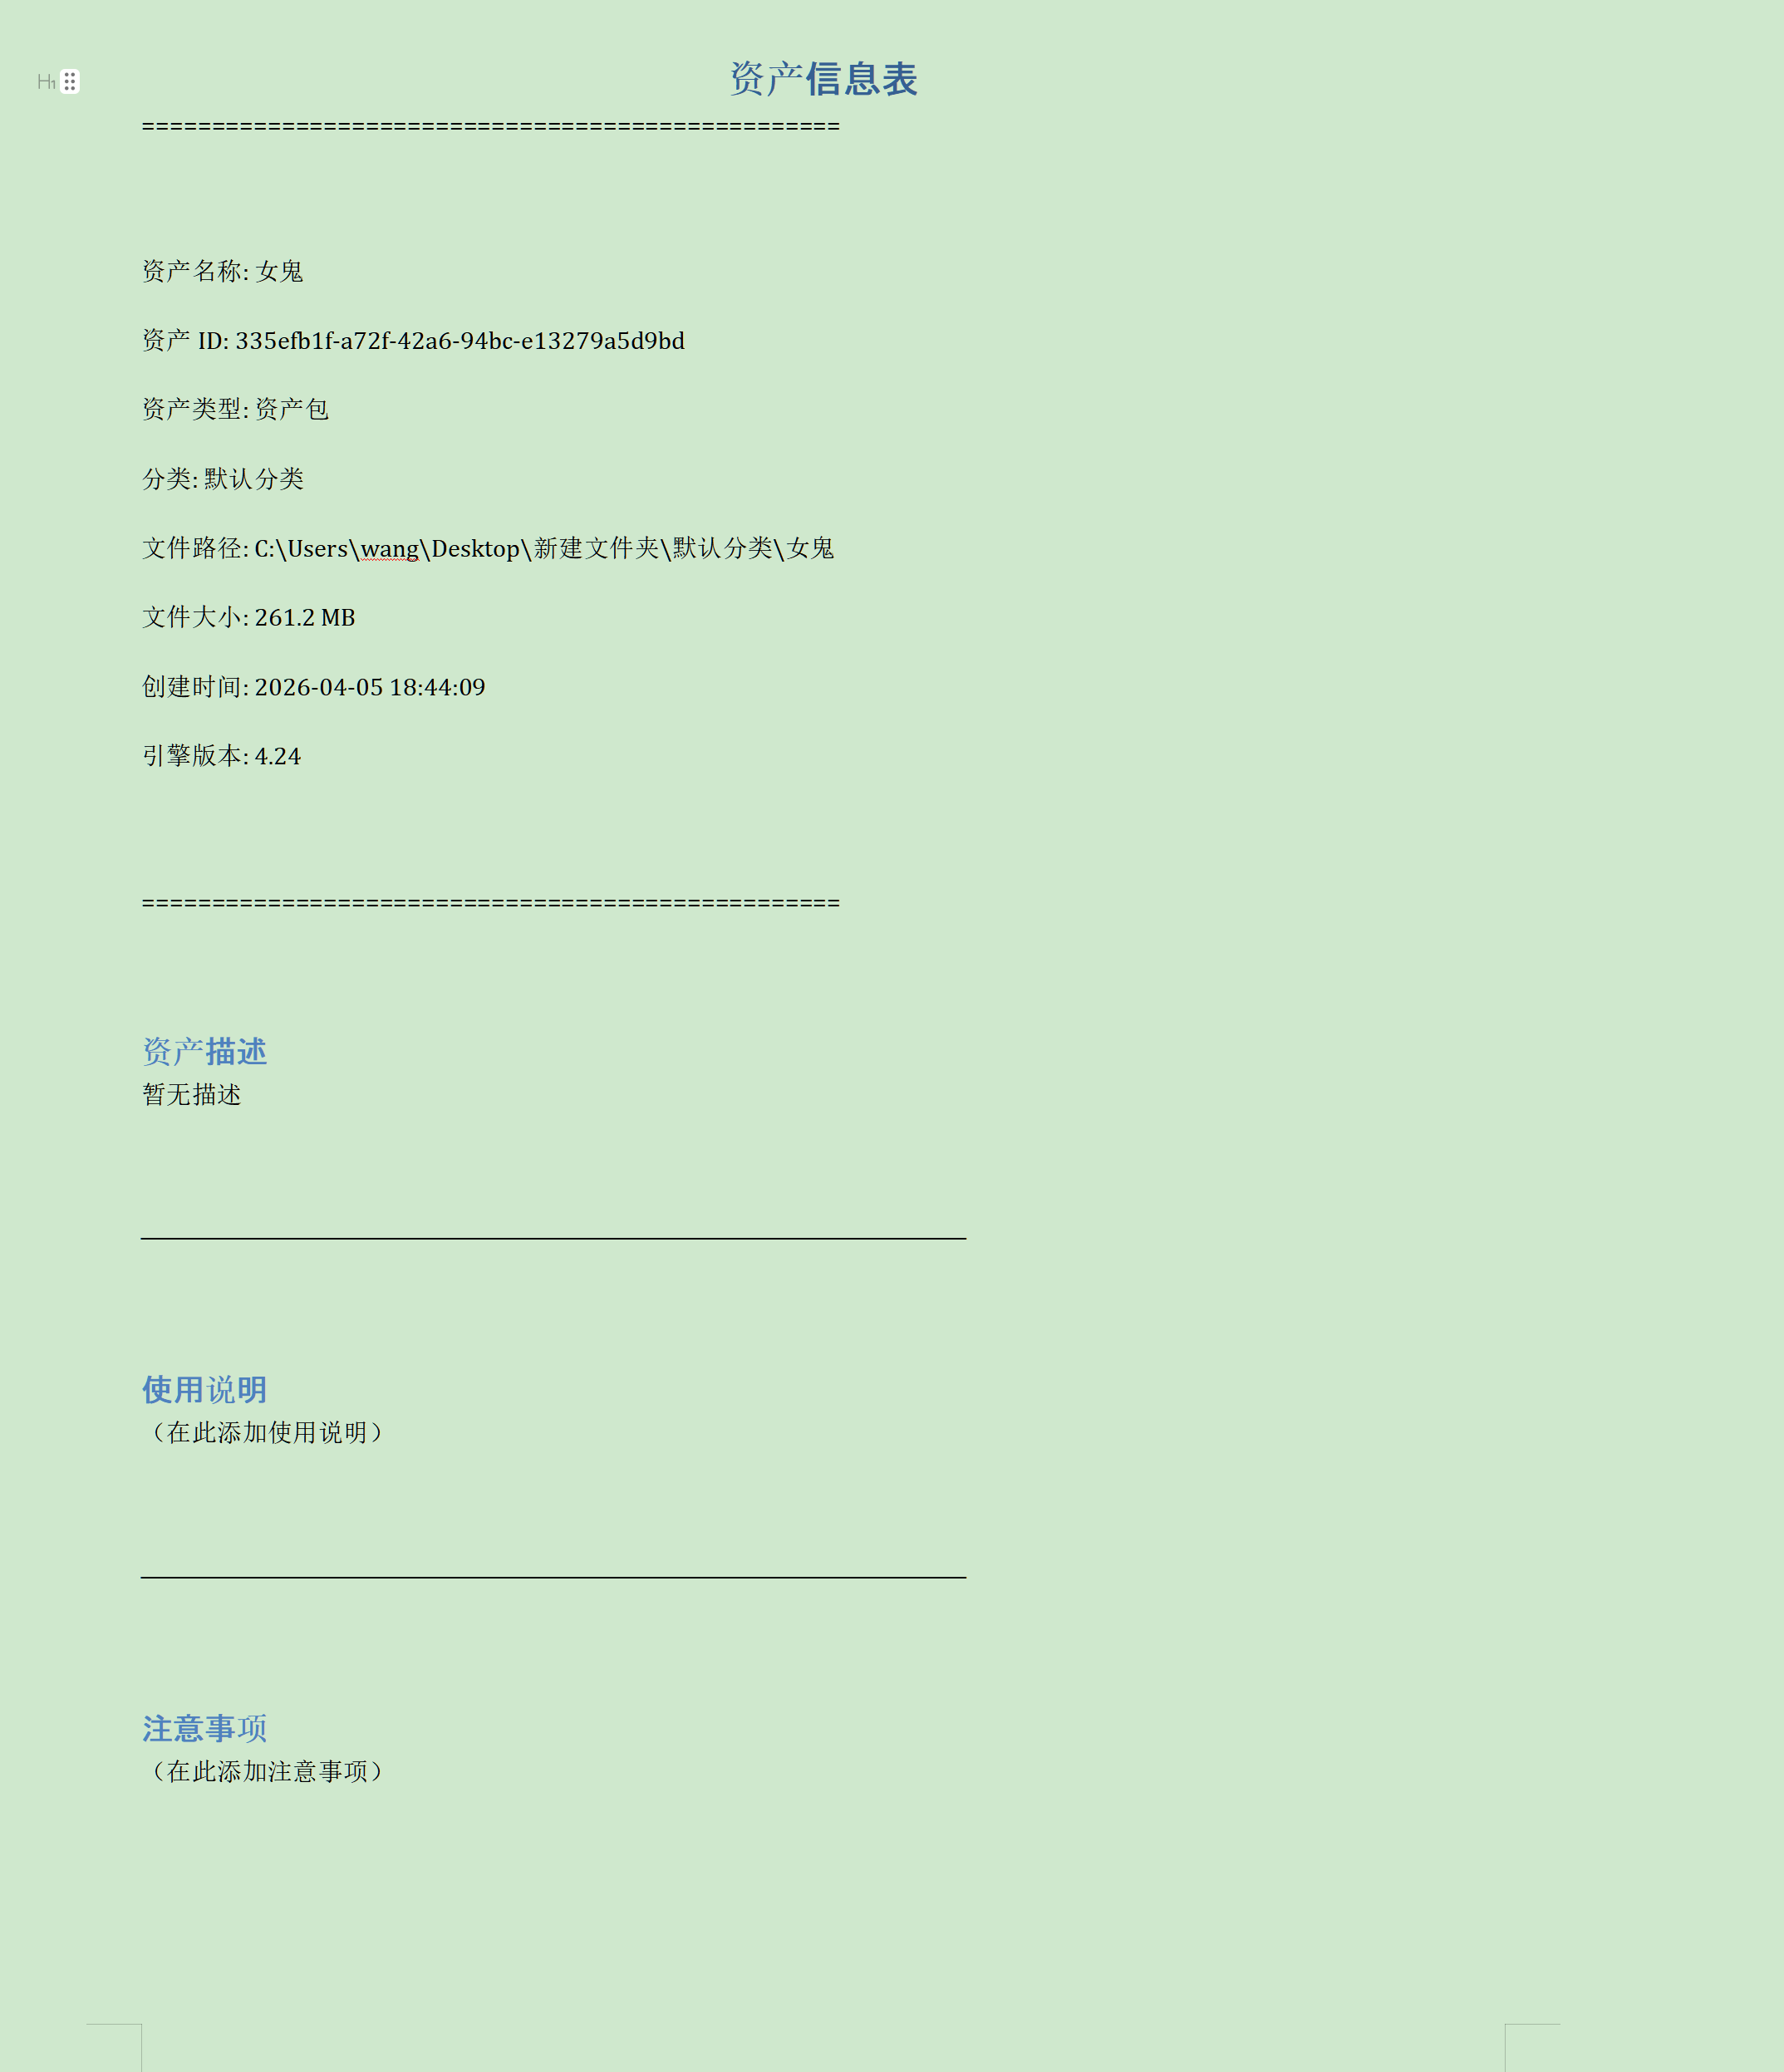
If you check “Create Description Document” when adding, a description document will be automatically created during addition. Left-click the asset card to open it. If not checked, you can create it later by left-clicking the asset card.
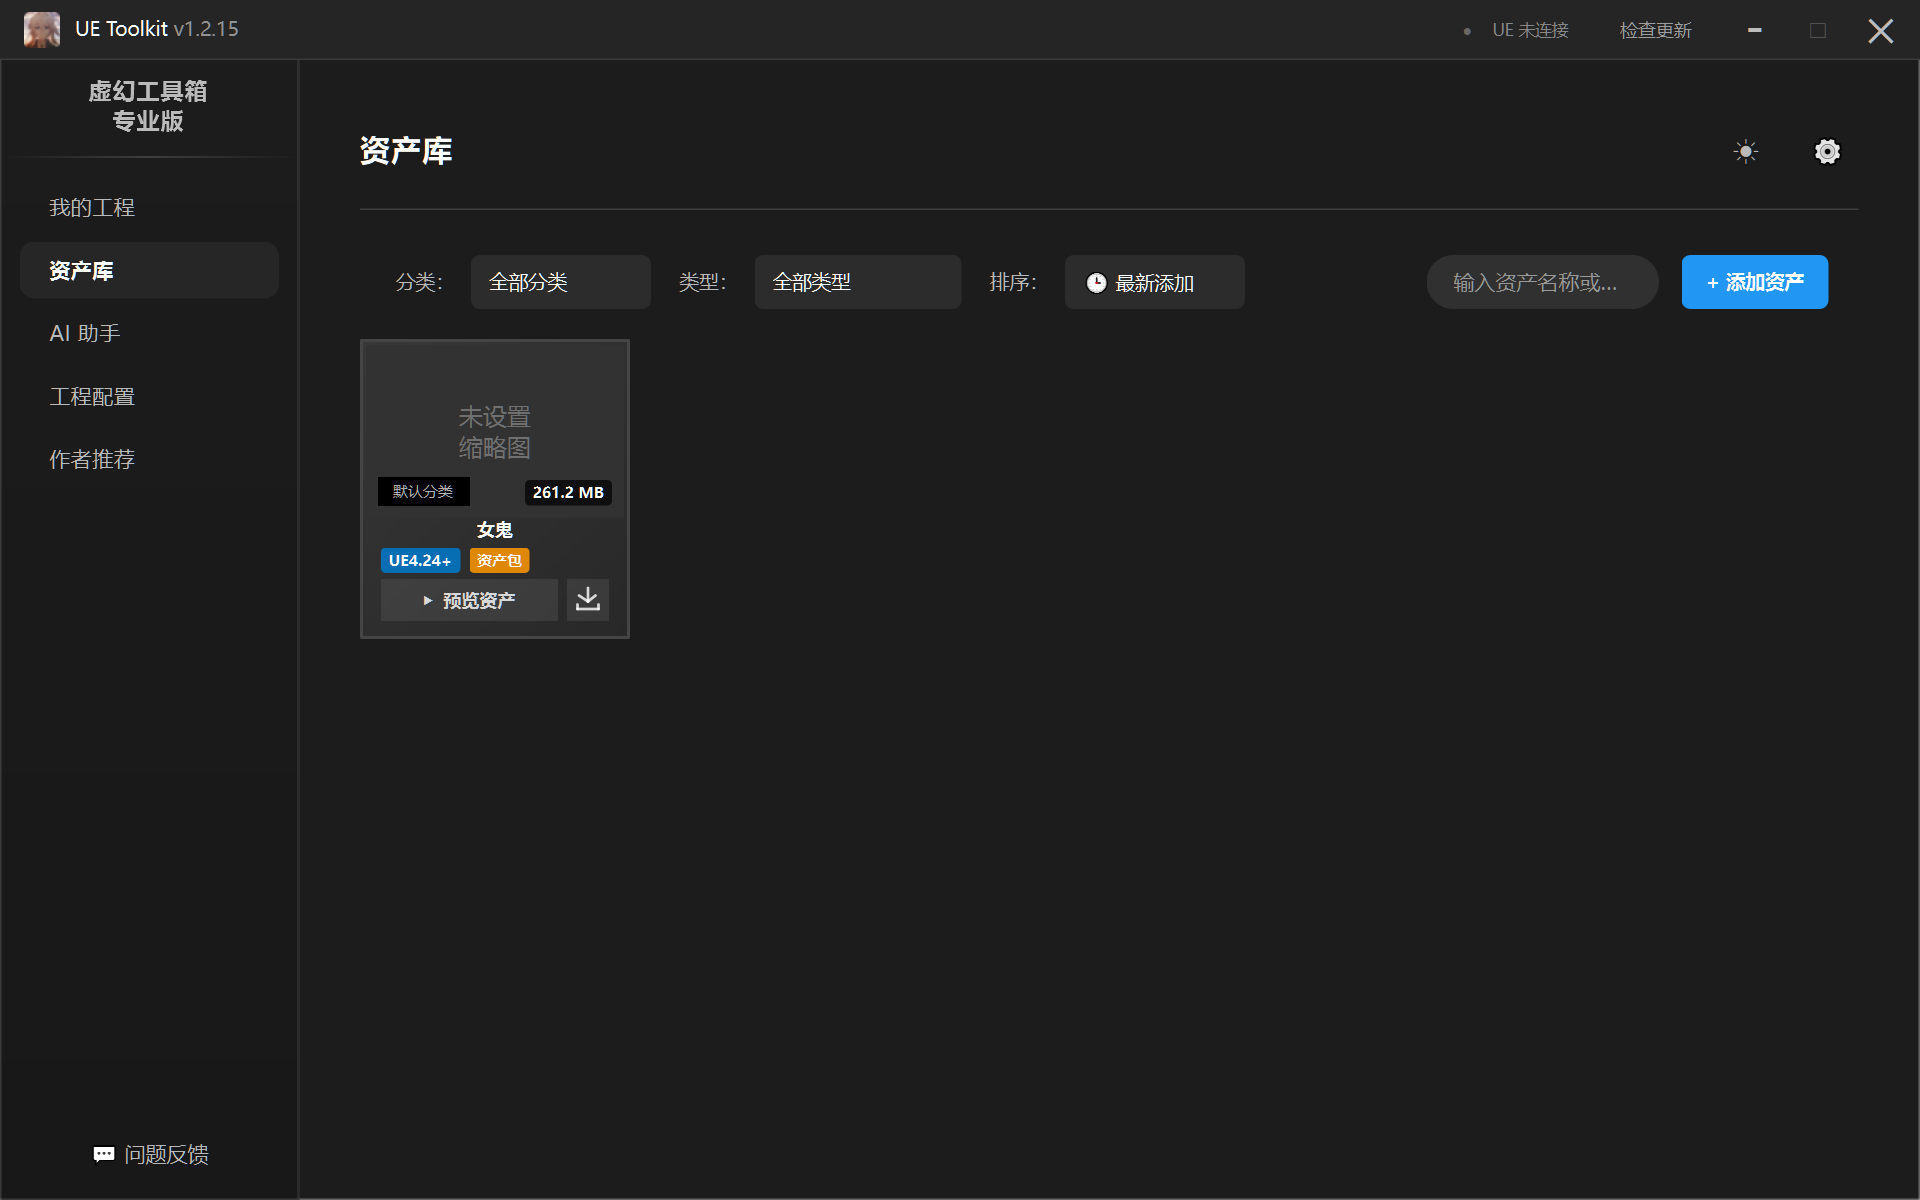
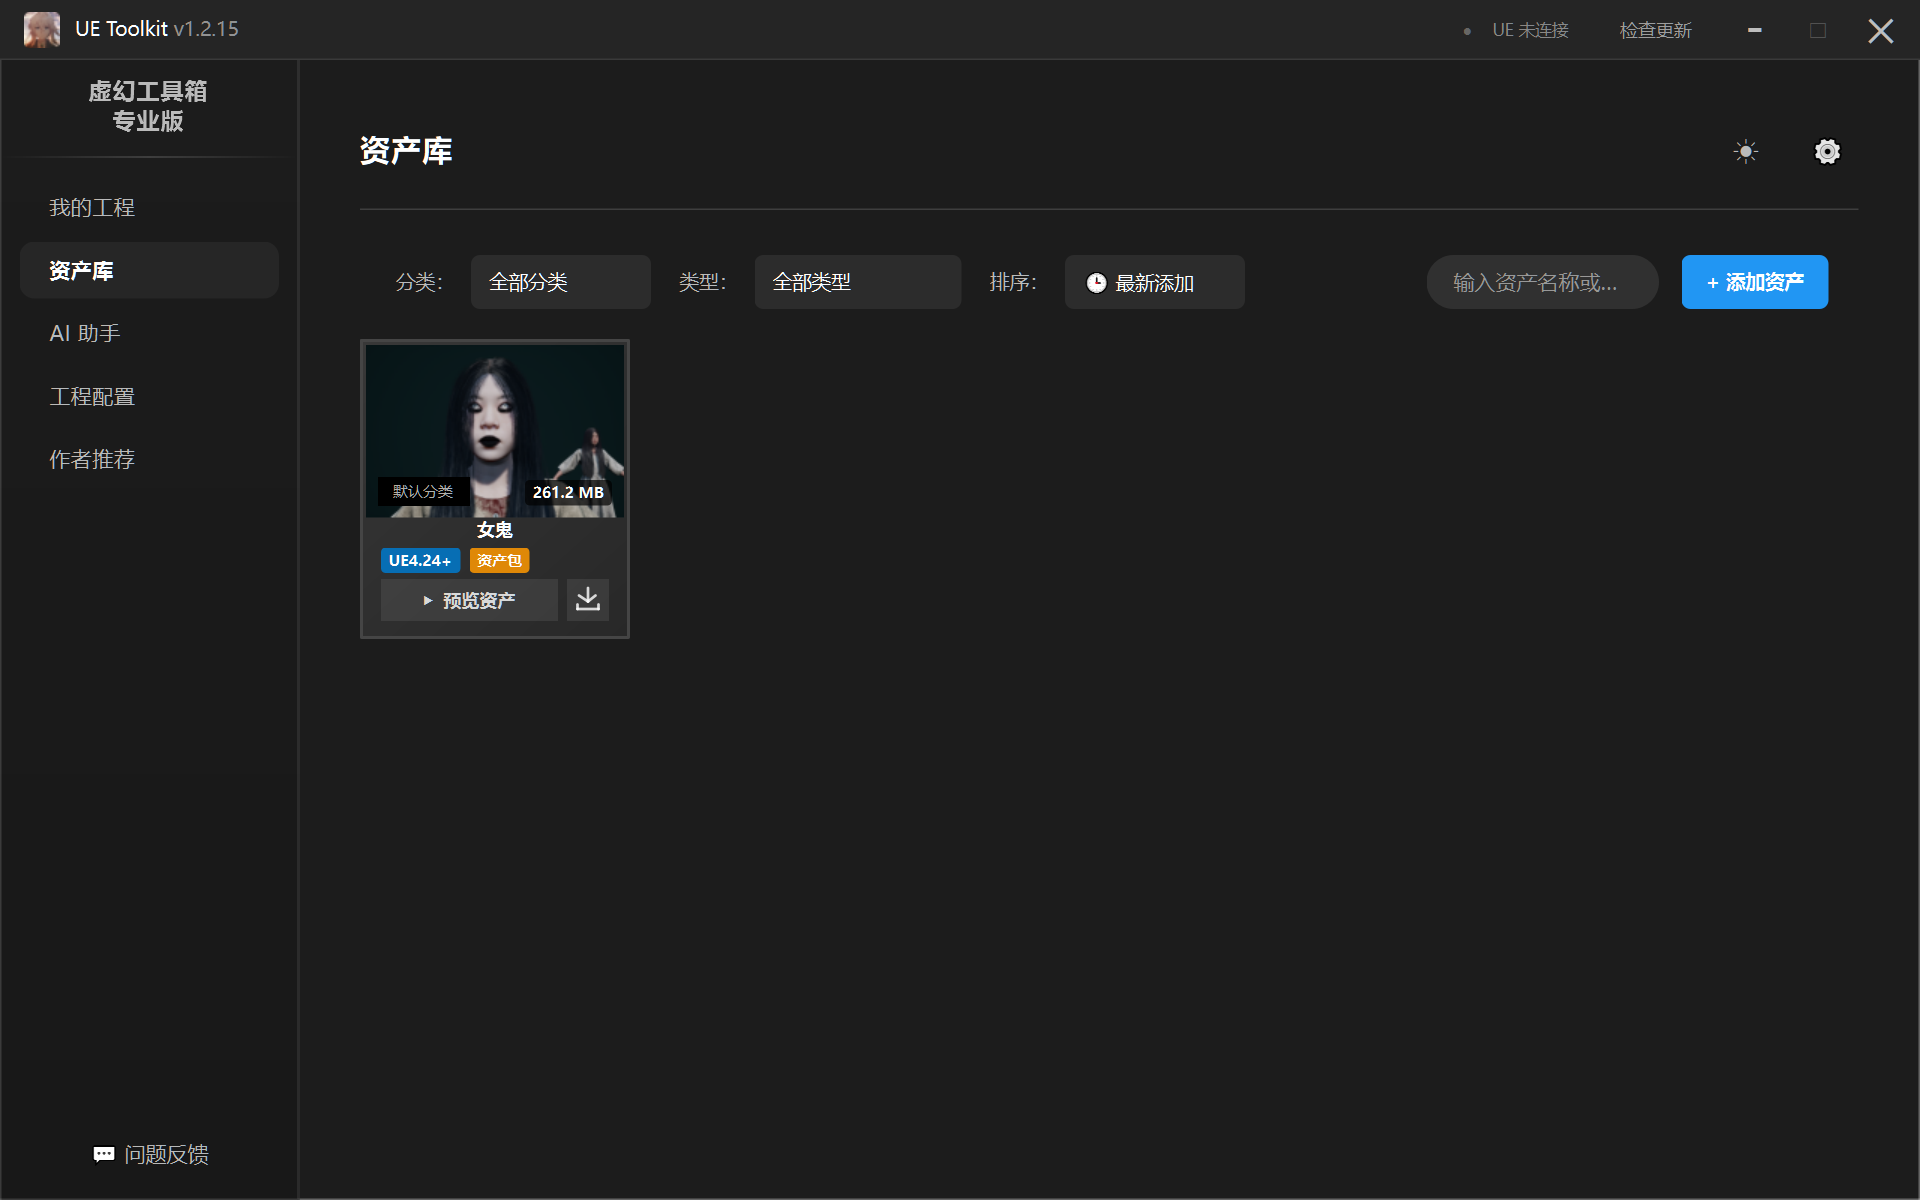
After successful addition, the added asset card will appear (Note: Assets don’t have thumbnails yet. How to set thumbnails will be introduced later).
2.2 Previewing Assets
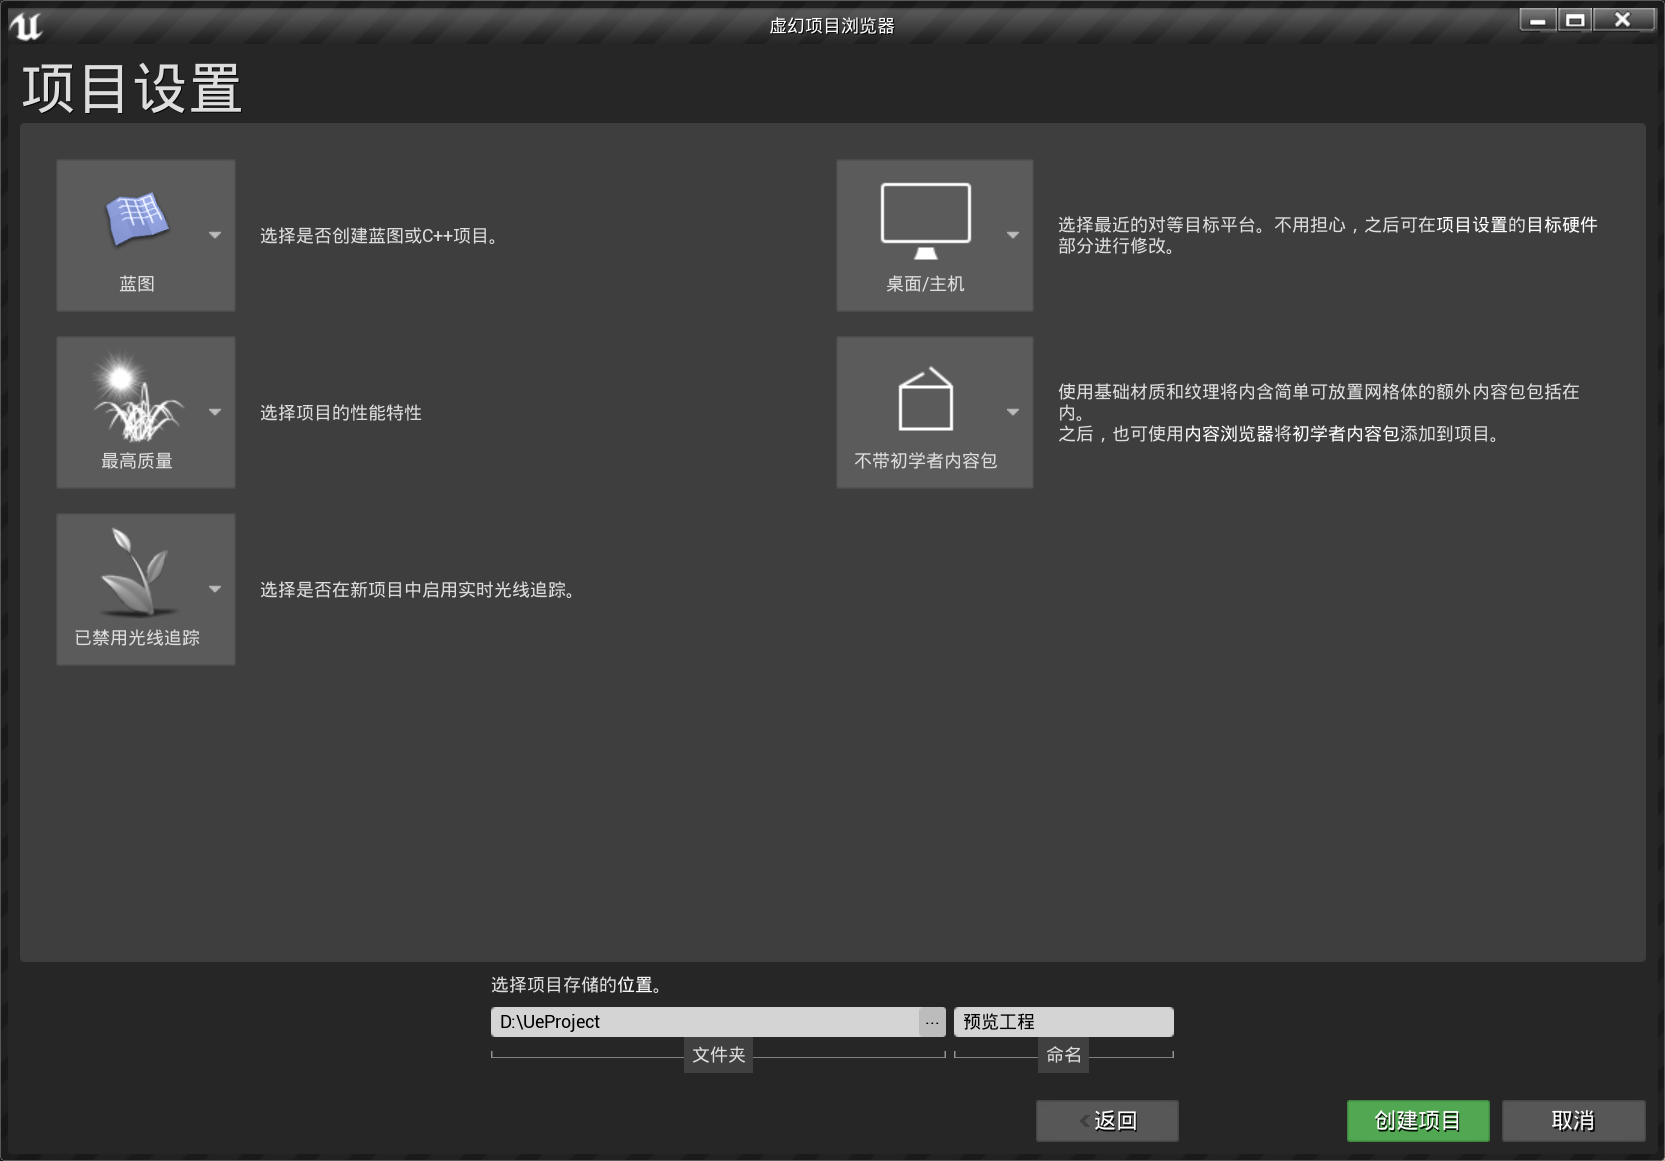
To preview assets, you first need to create and set up a preview project.
First create a preview project:
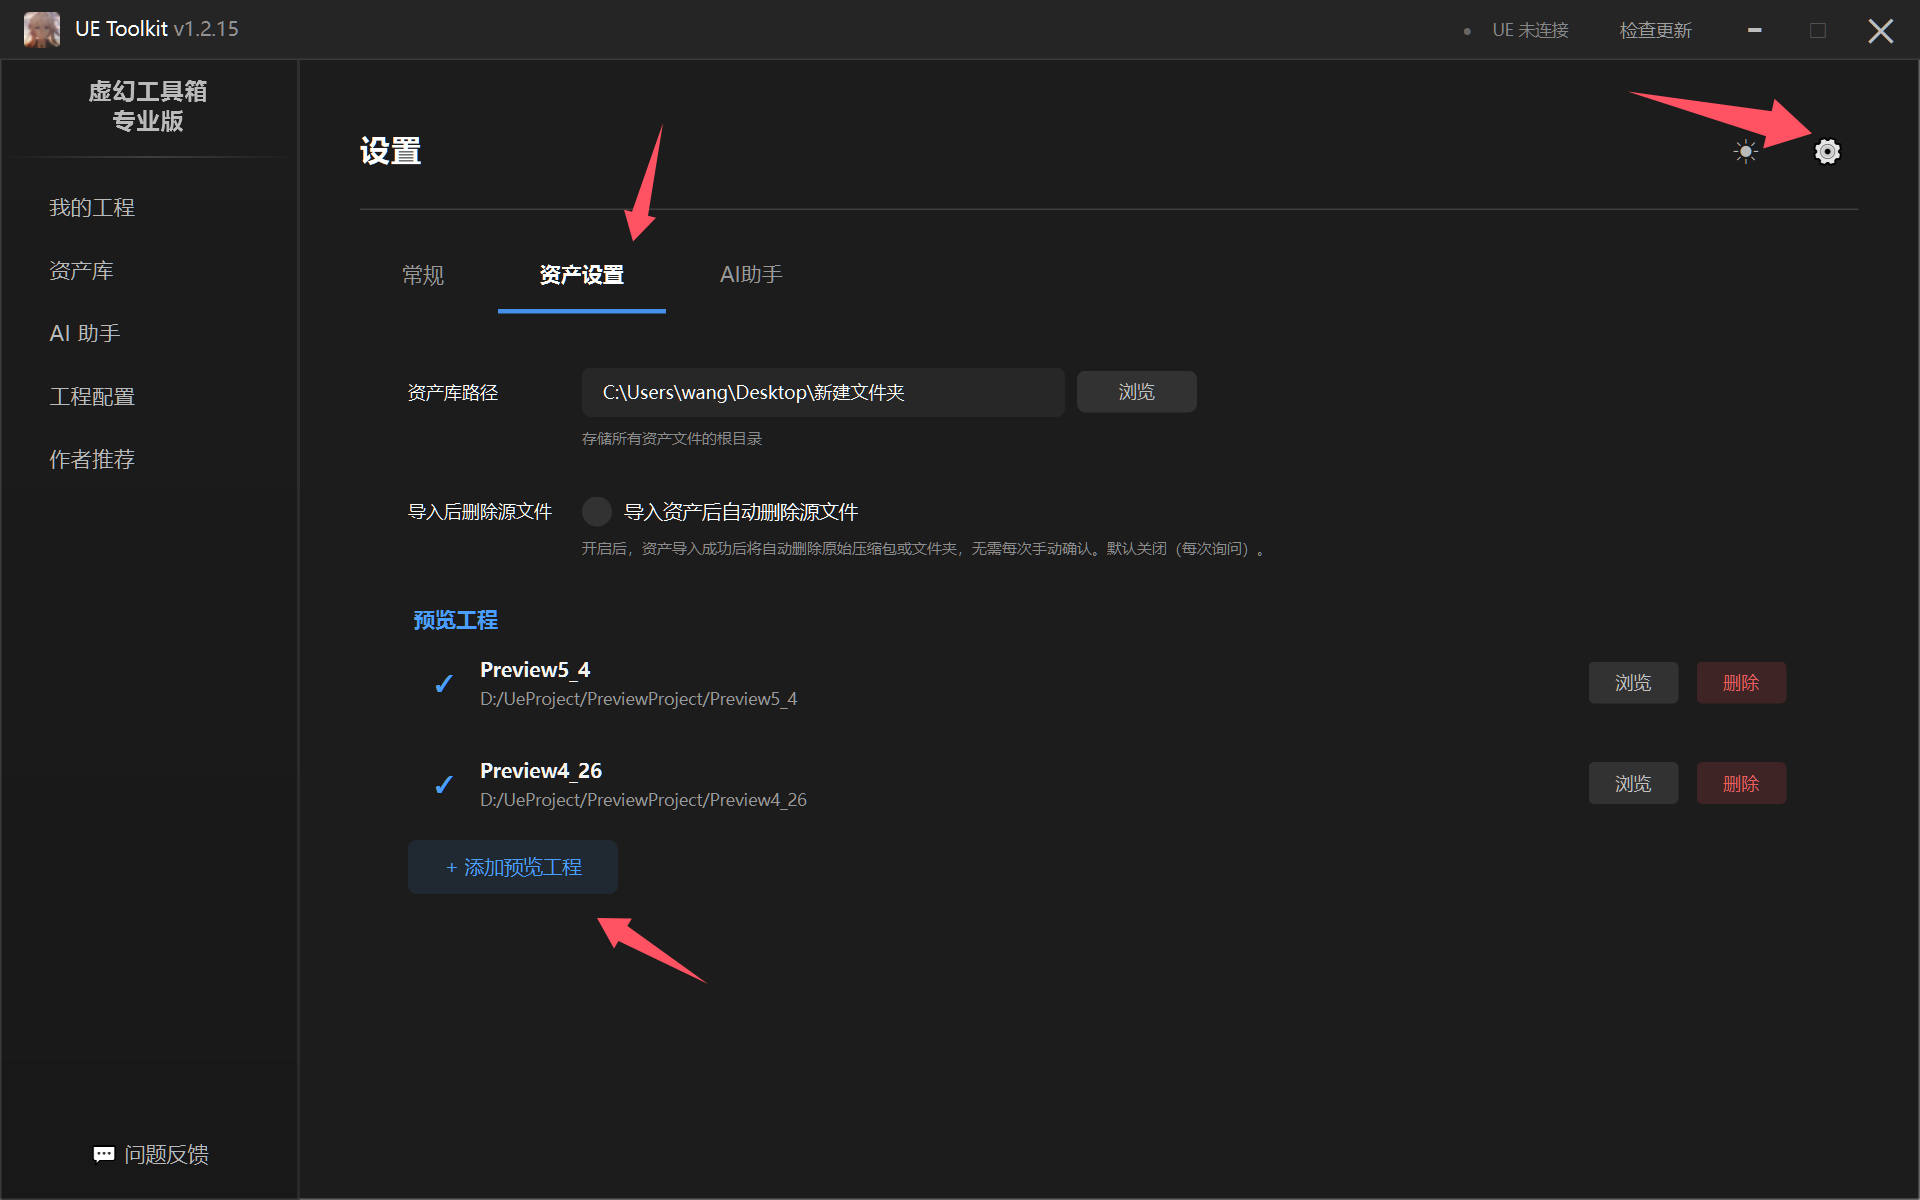
After creating the preview project, open toolbox settings -> Asset Settings -> Add Preview Project:
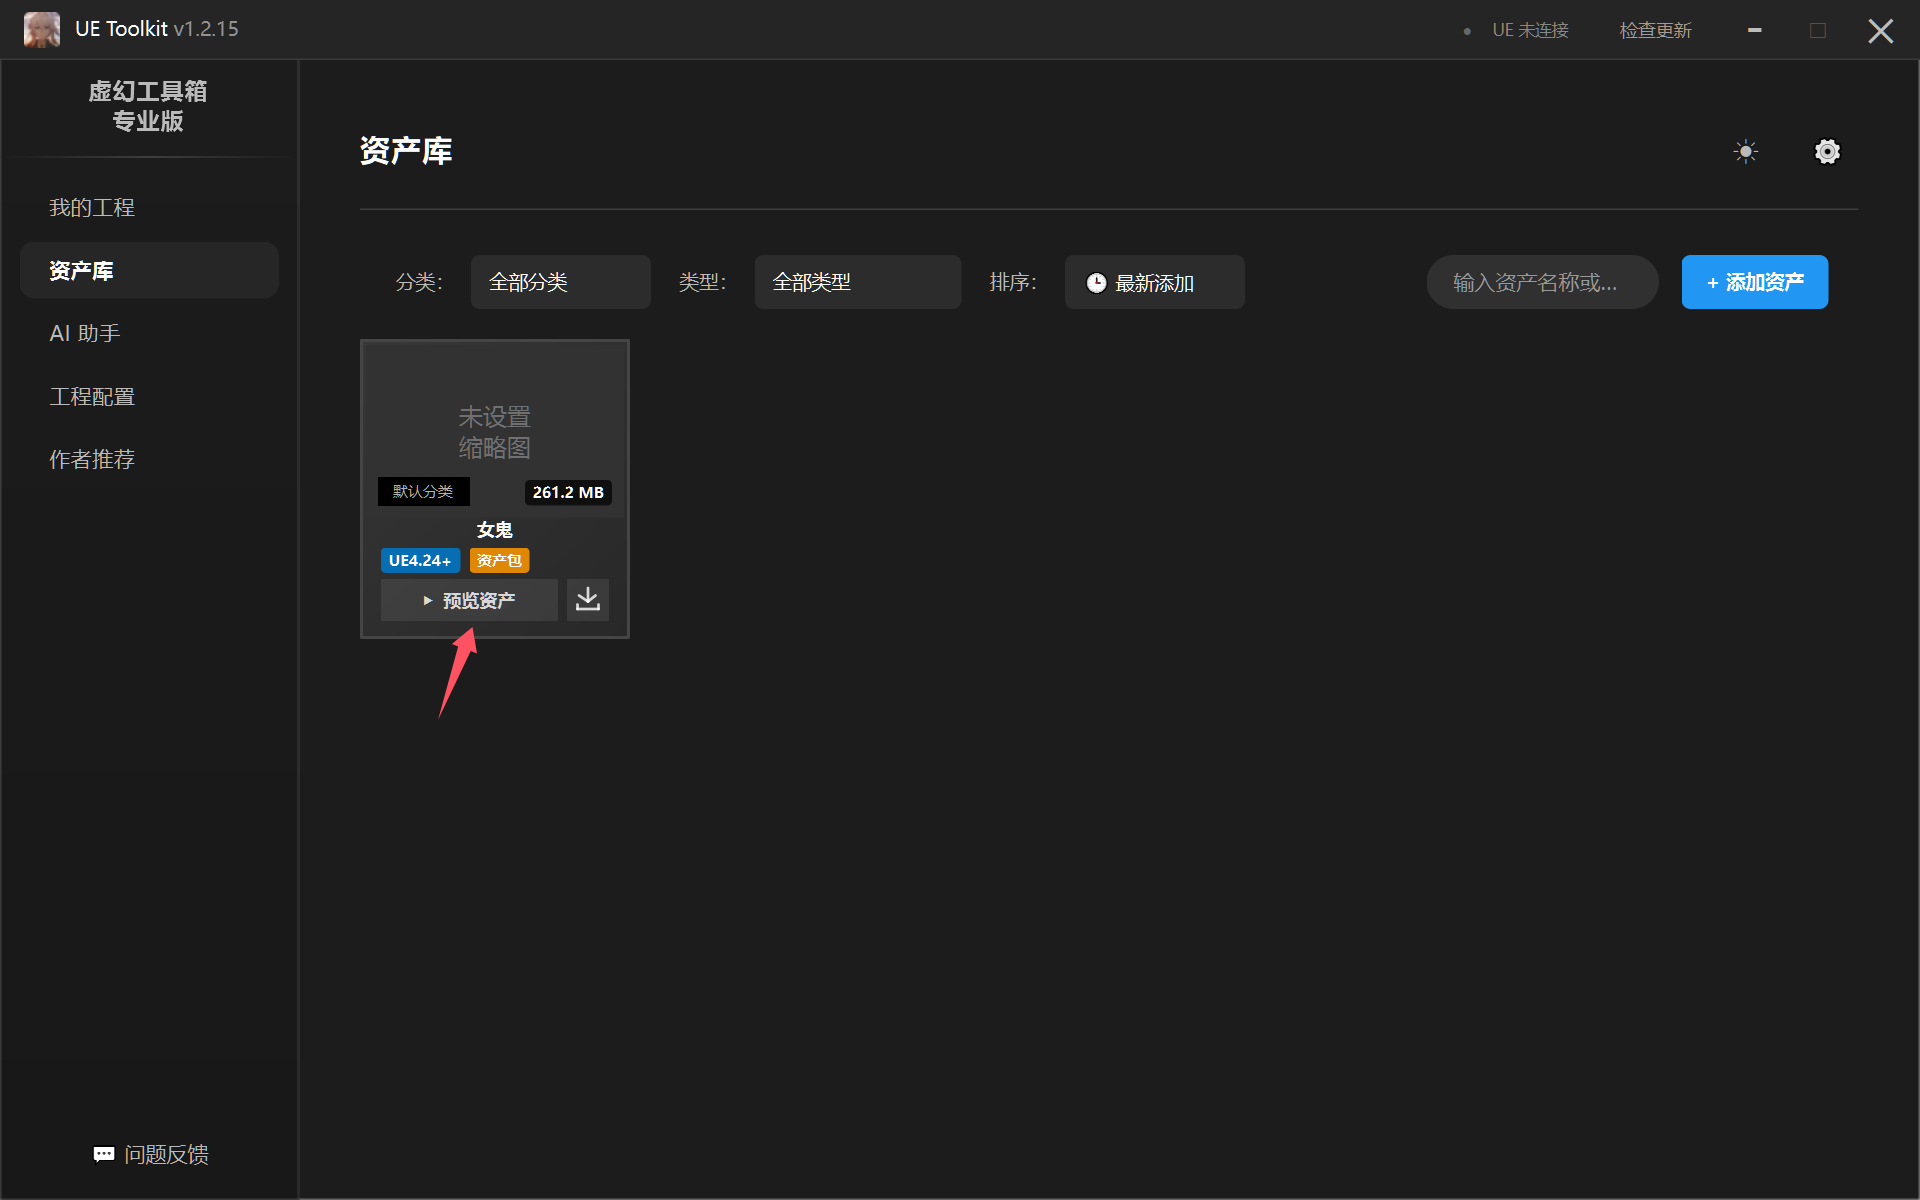
After setting up, return to asset library interface and click Preview Asset in the asset card:
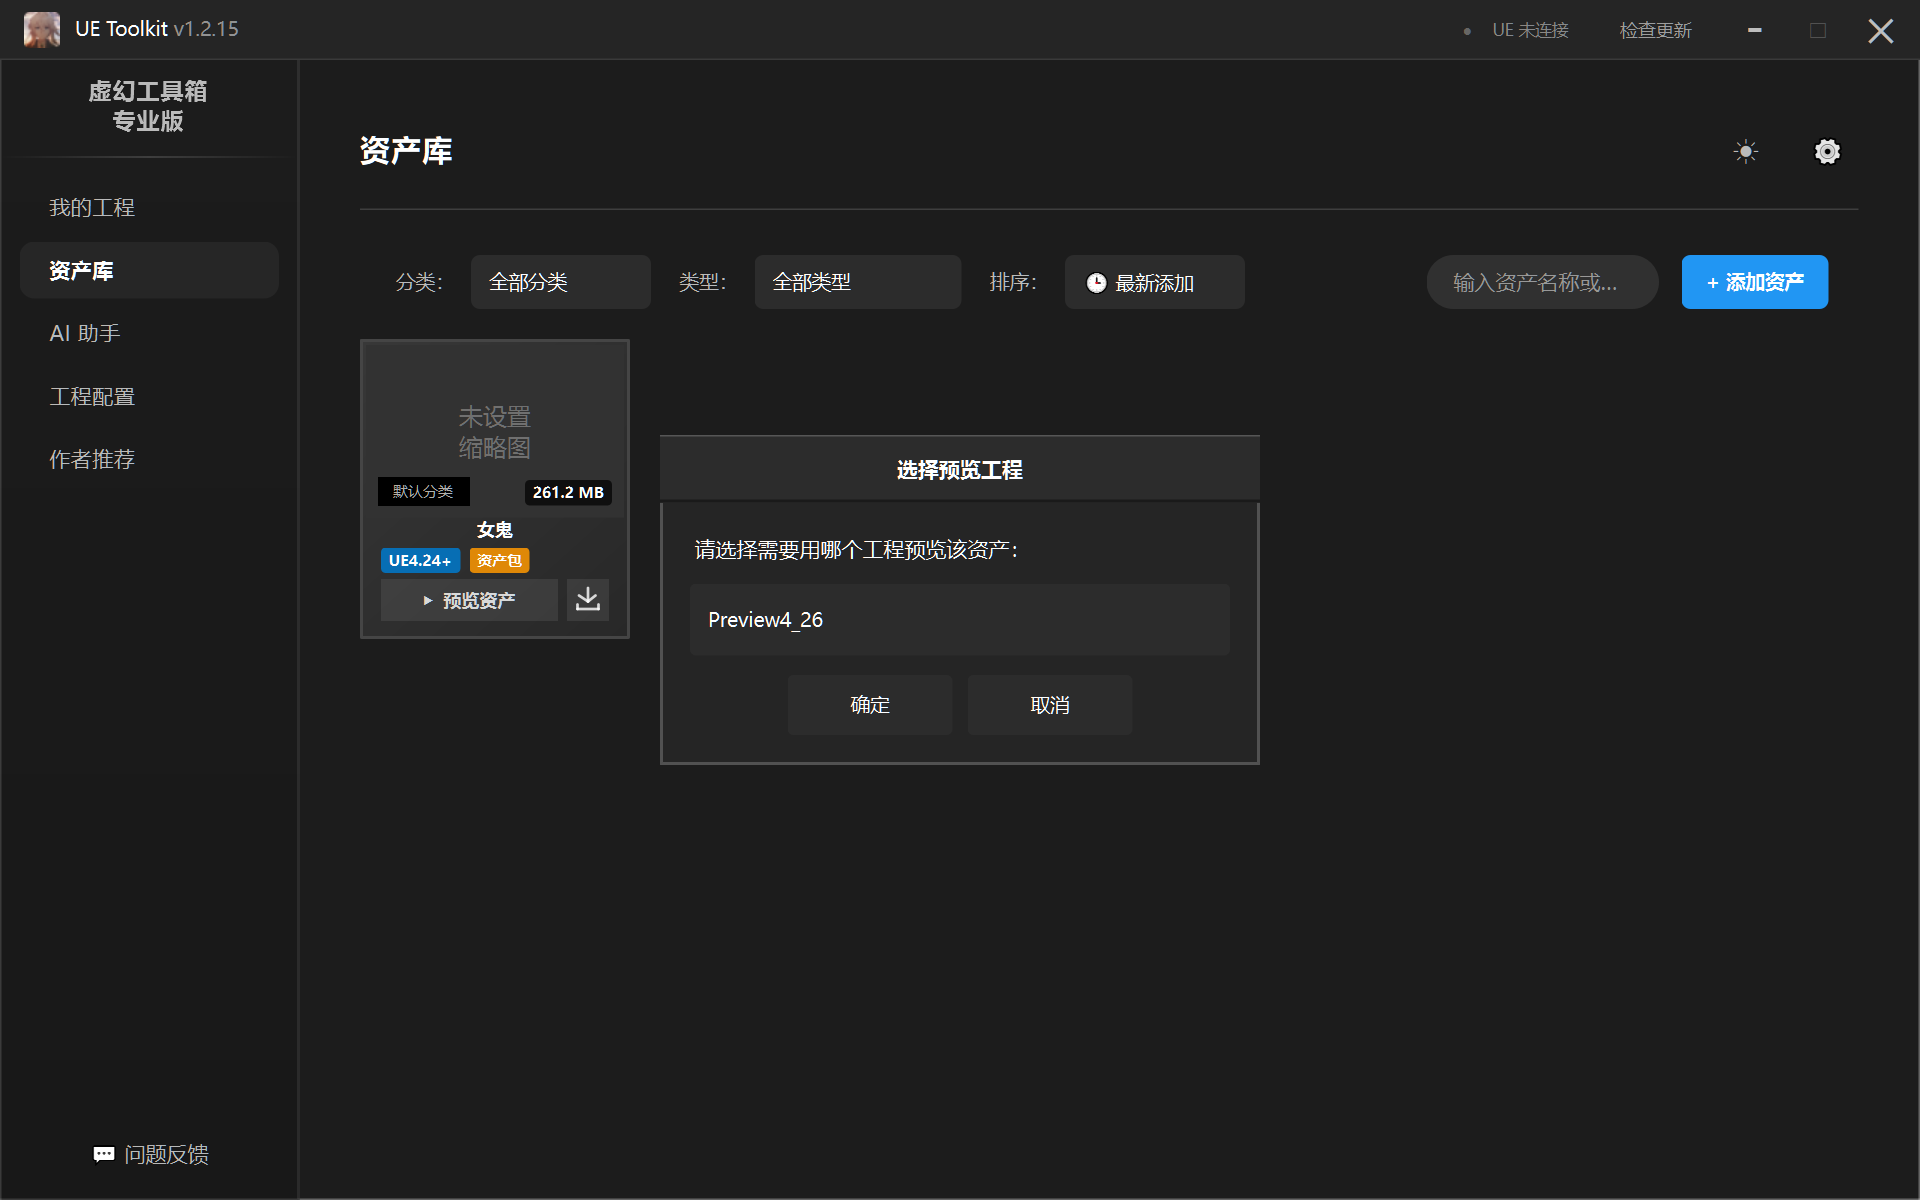
Select the preview project to use:
You can see this is the previewed asset package:
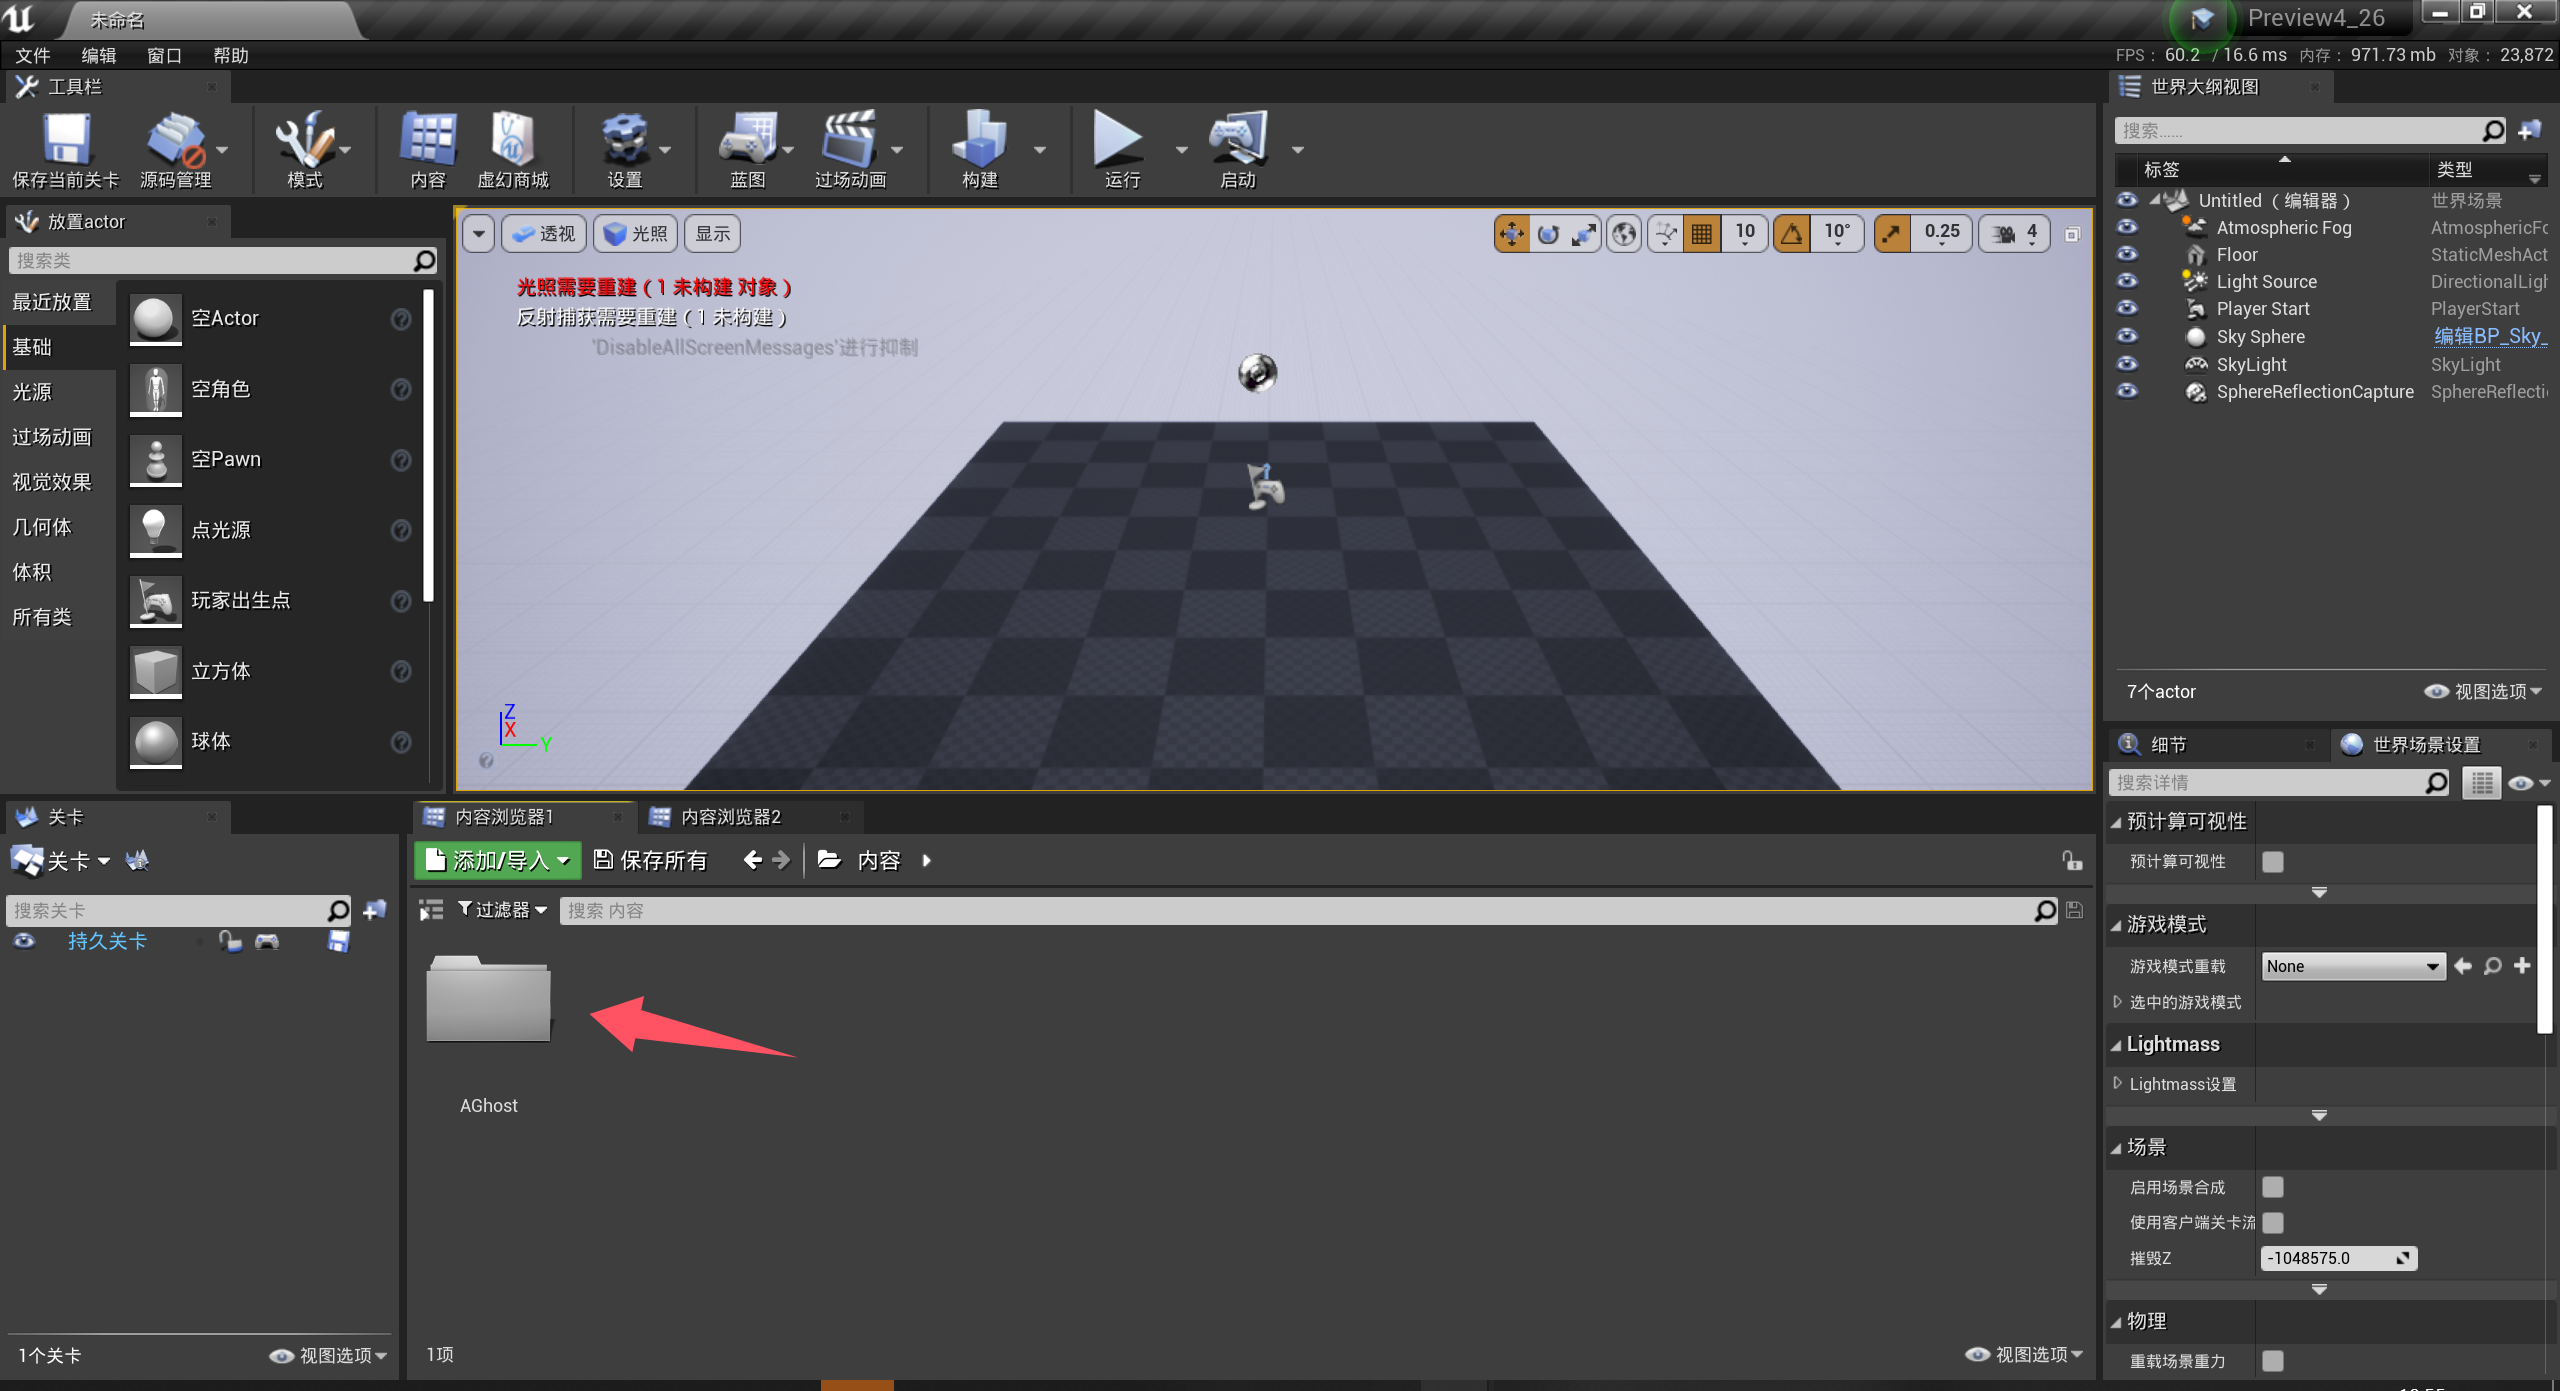
Opening the asset shows no damage or other issues, can preview normally:
2.3 Setting Asset Thumbnails
Currently only supports thumbnail settings for asset packages and project assets.
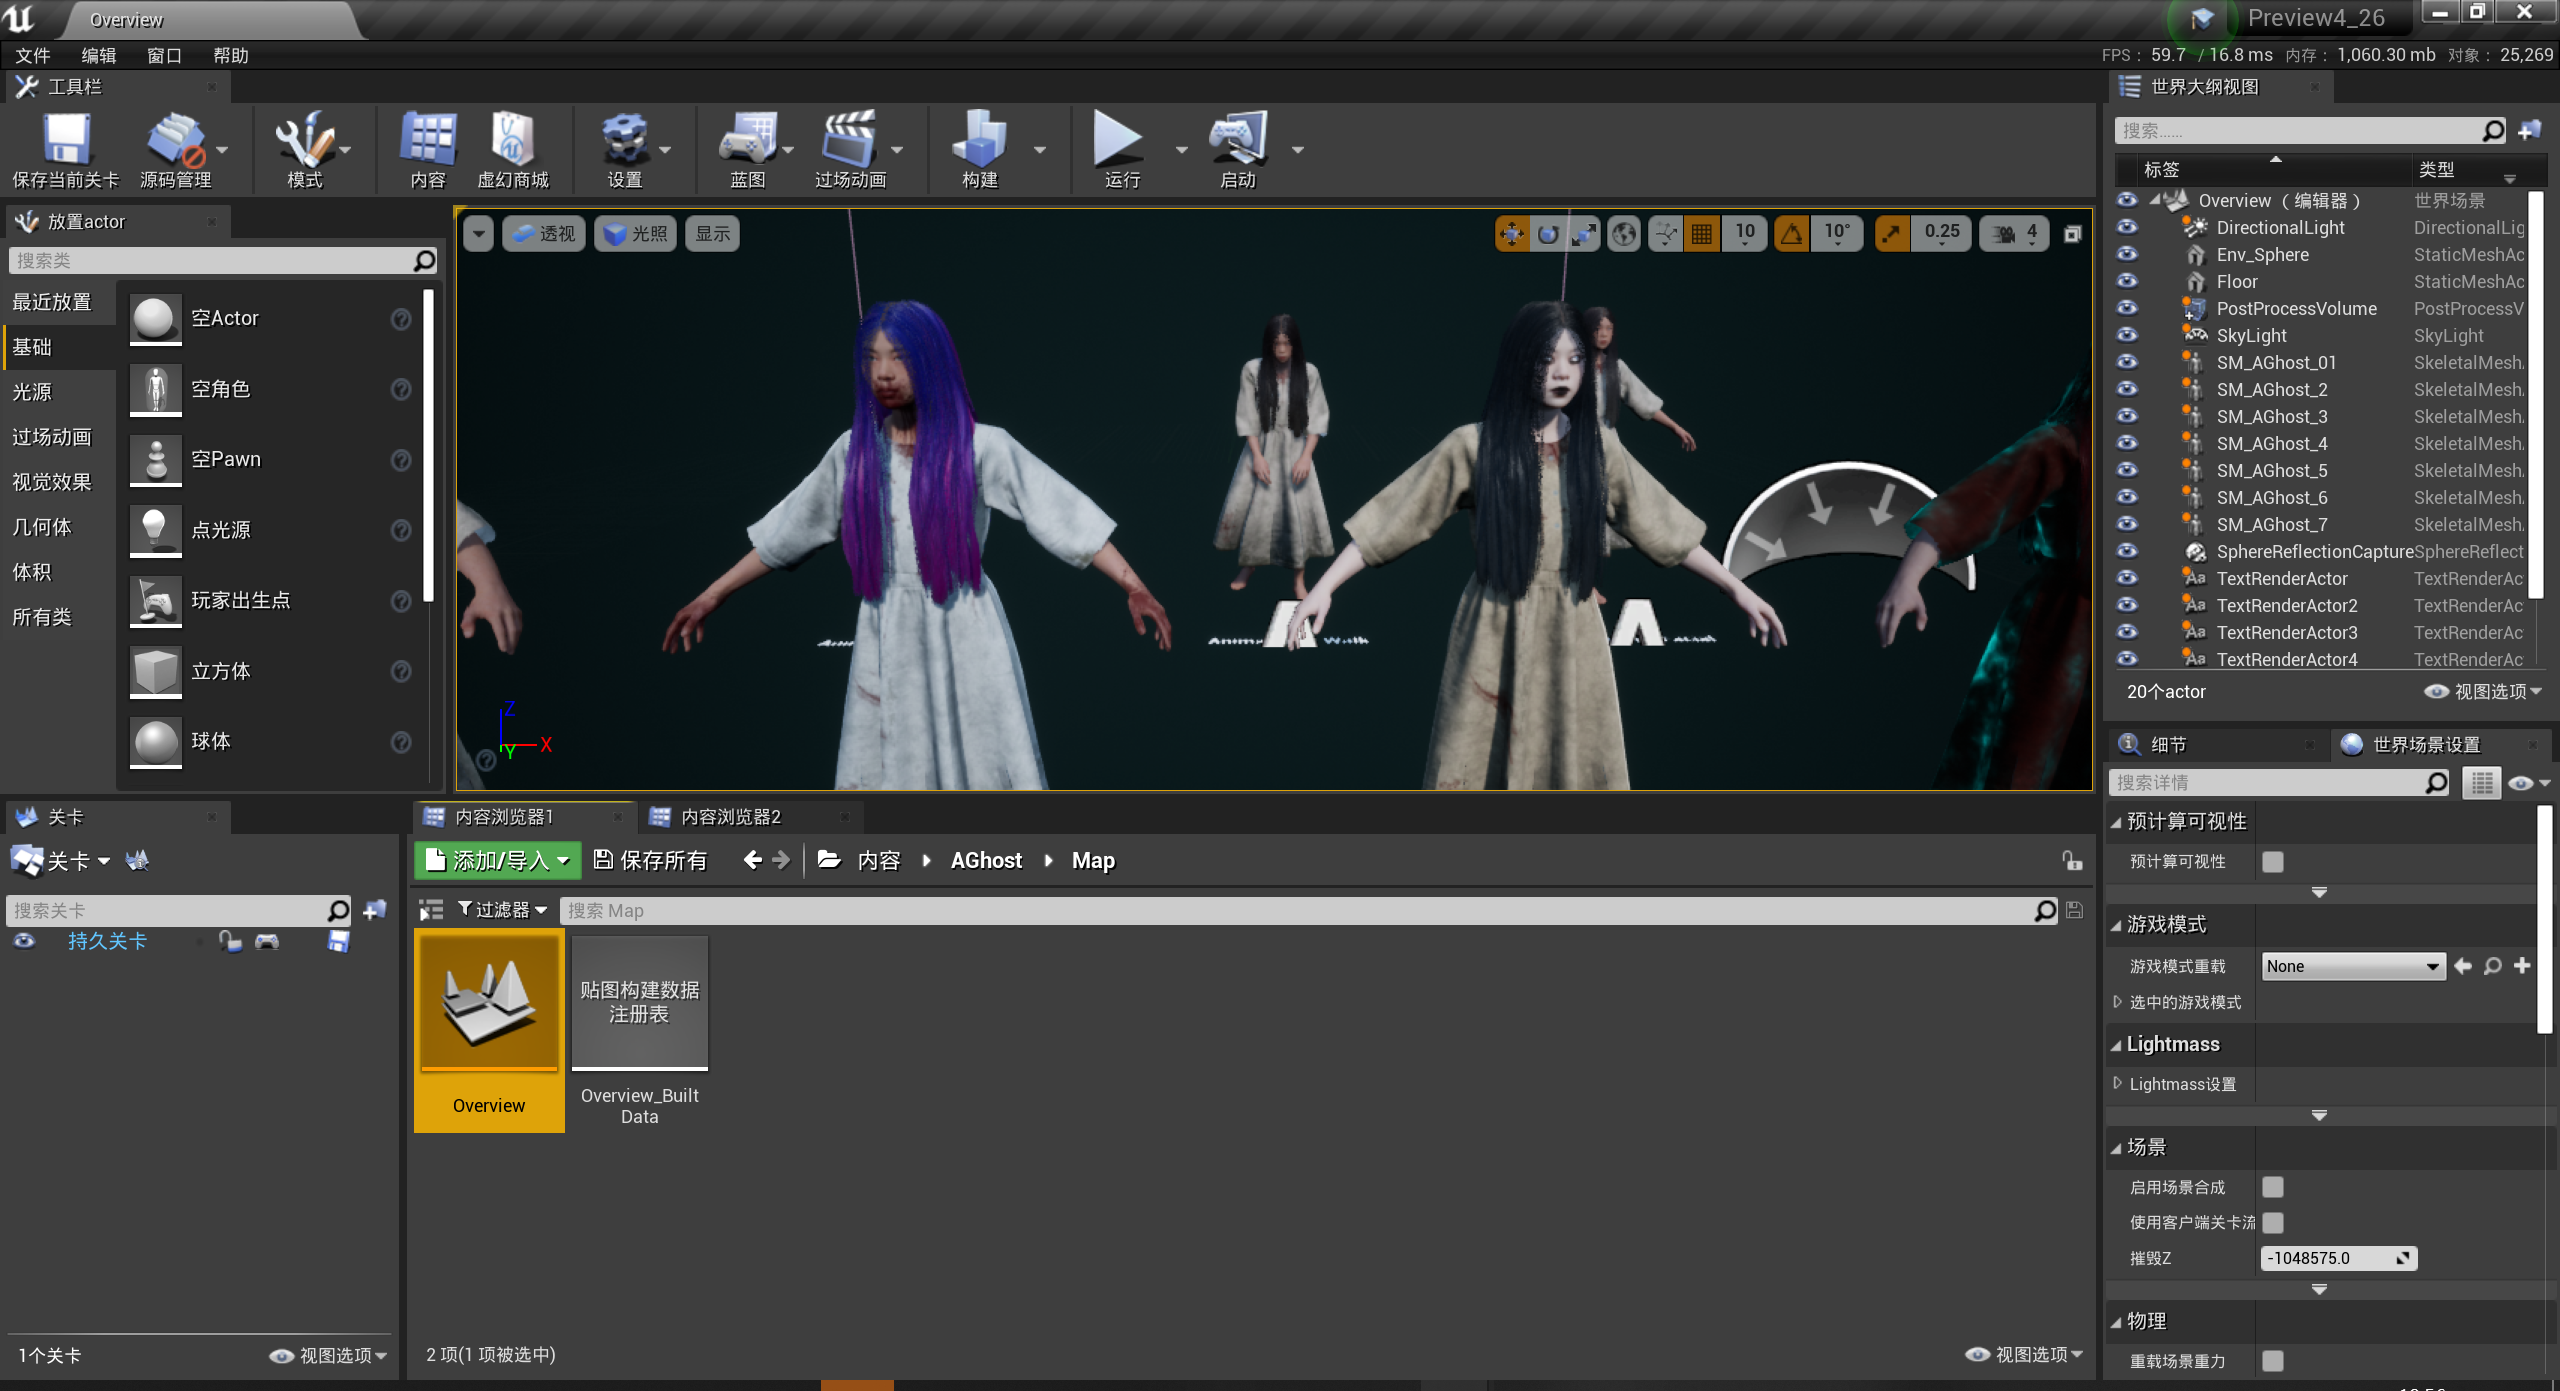
First preview the asset you want to set a thumbnail for.
There are two ways to set thumbnails:
- First method: Adjust to appropriate position during preview and exit directly. Thumbnail will be set automatically. This method changes the thumbnail every time you preview the asset
- Second method: Permanent thumbnail. Next, let’s introduce how to set permanent thumbnails
After previewing the asset, adjust it to an appropriate angle, take a high-resolution screenshot, then close the project to set permanent thumbnail:
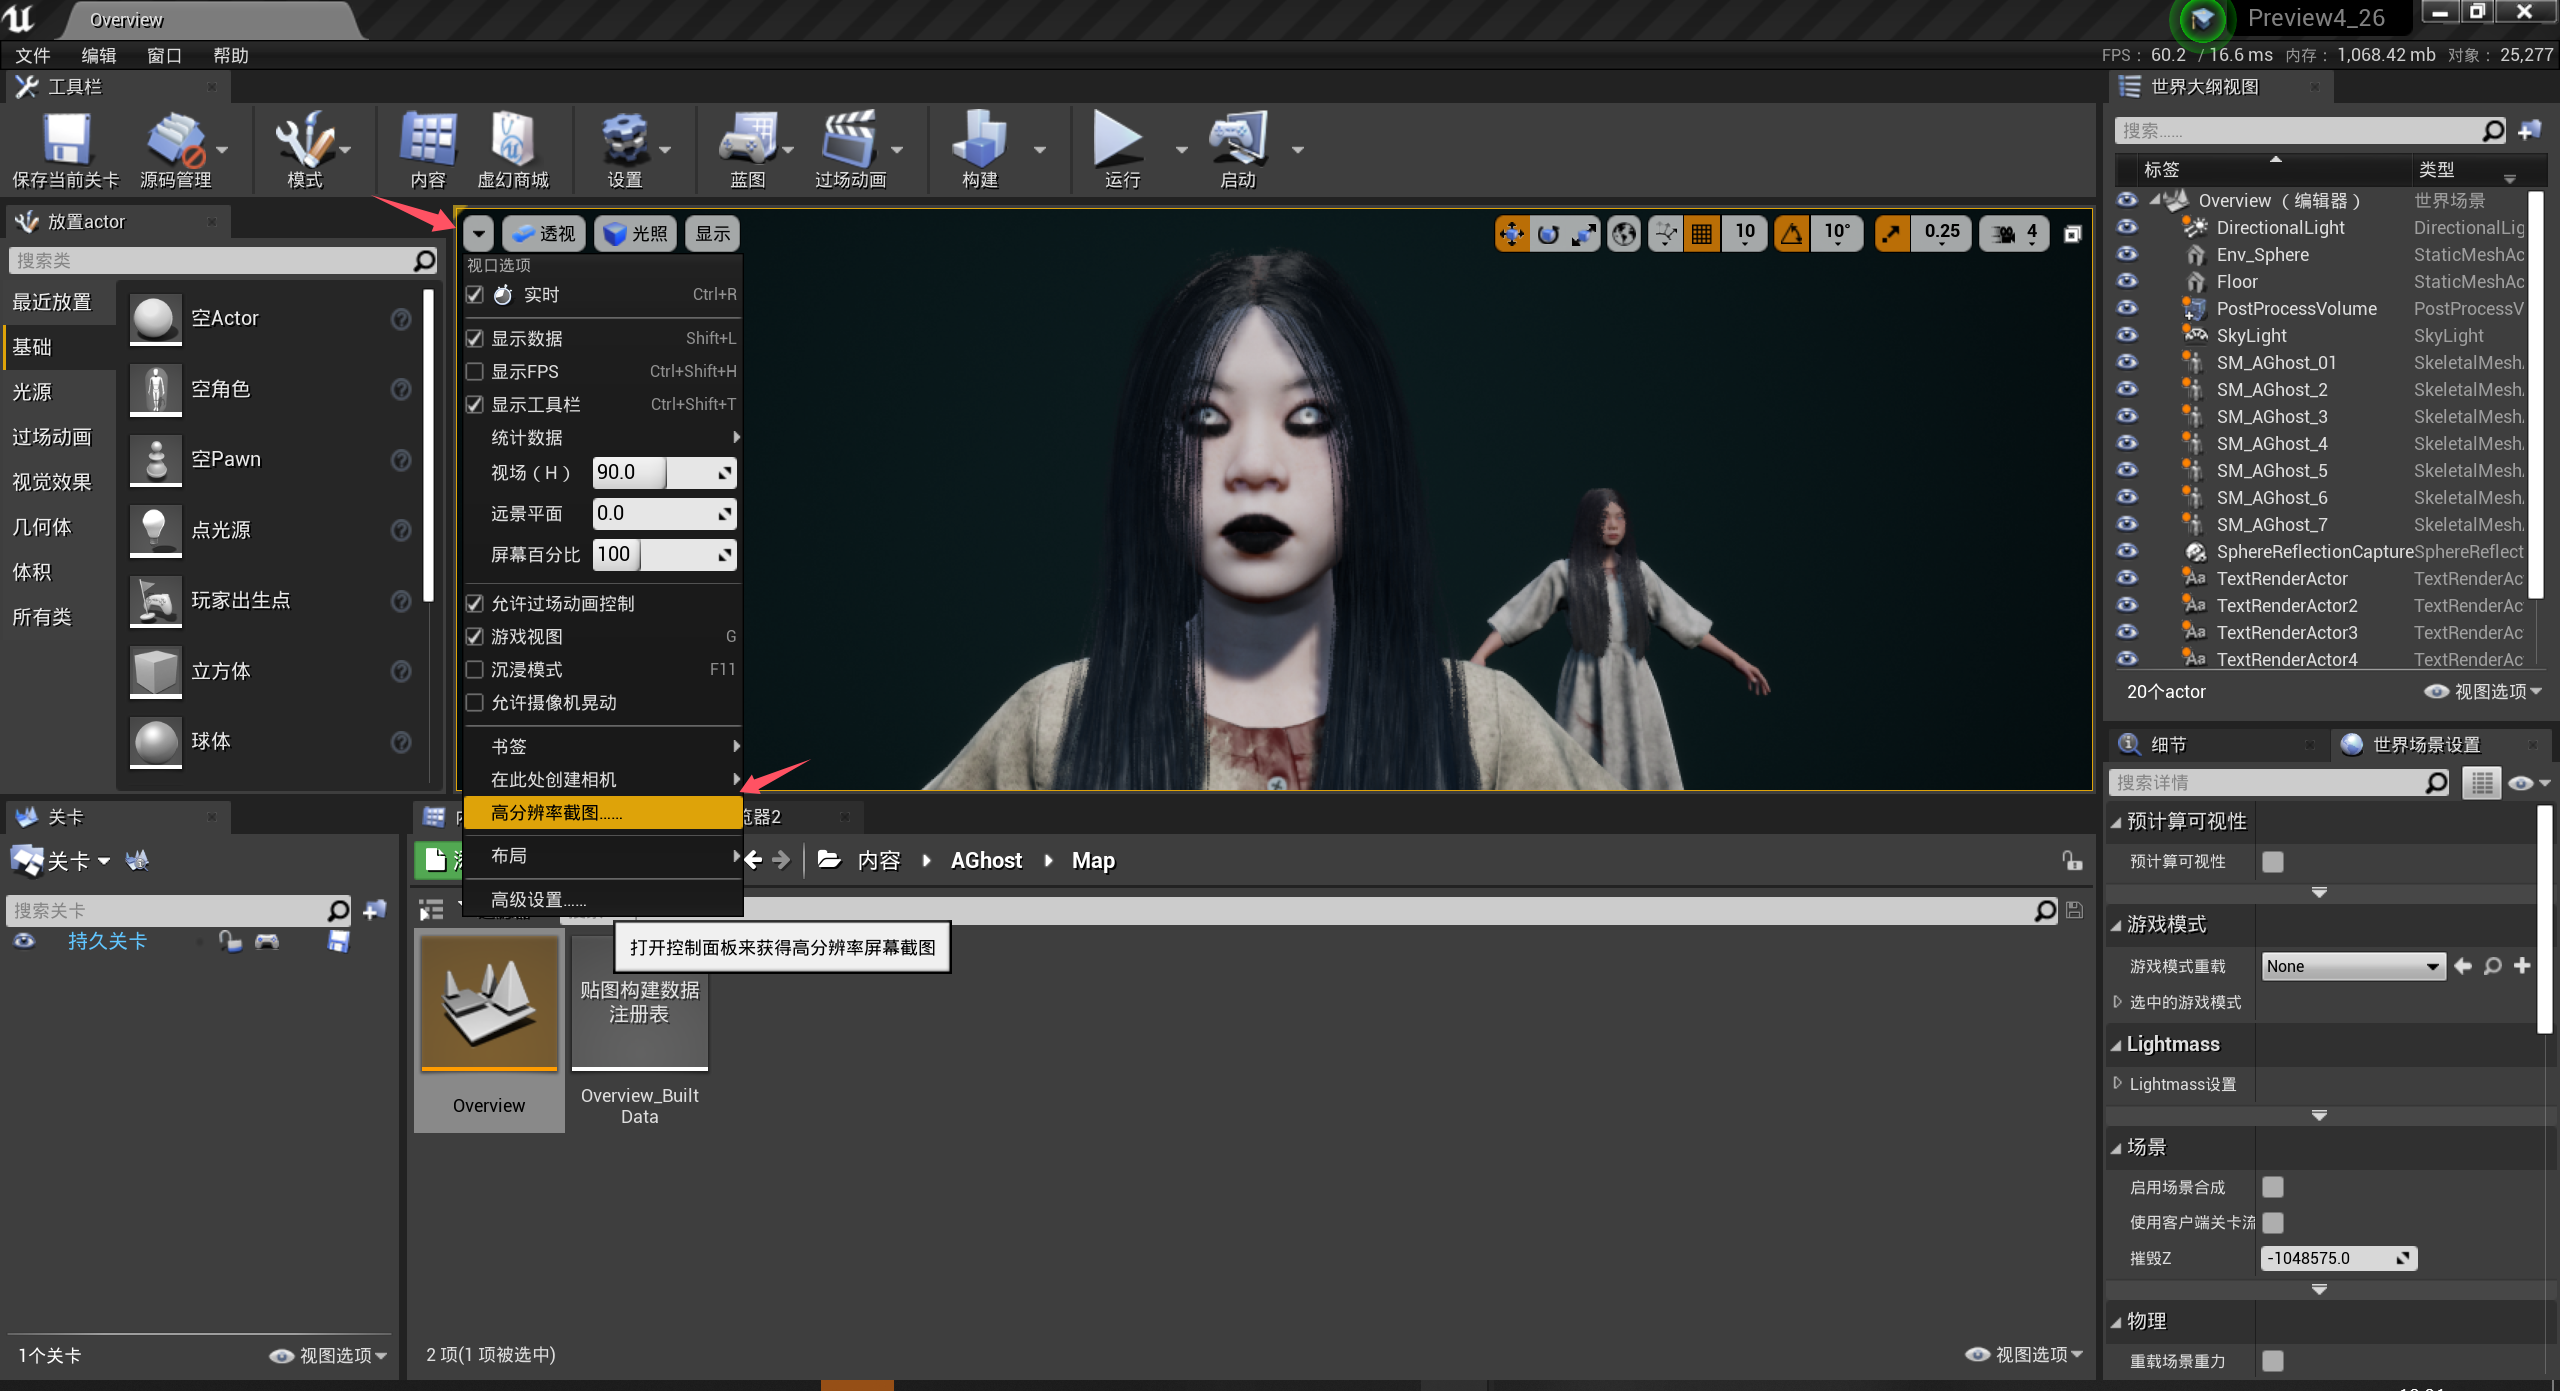
You can see the thumbnail has been set successfully:
2.4 Importing Assets
When importing assets, clicking the import icon on the asset card will open the project selection interface, which will automatically filter projects that can use the current asset:
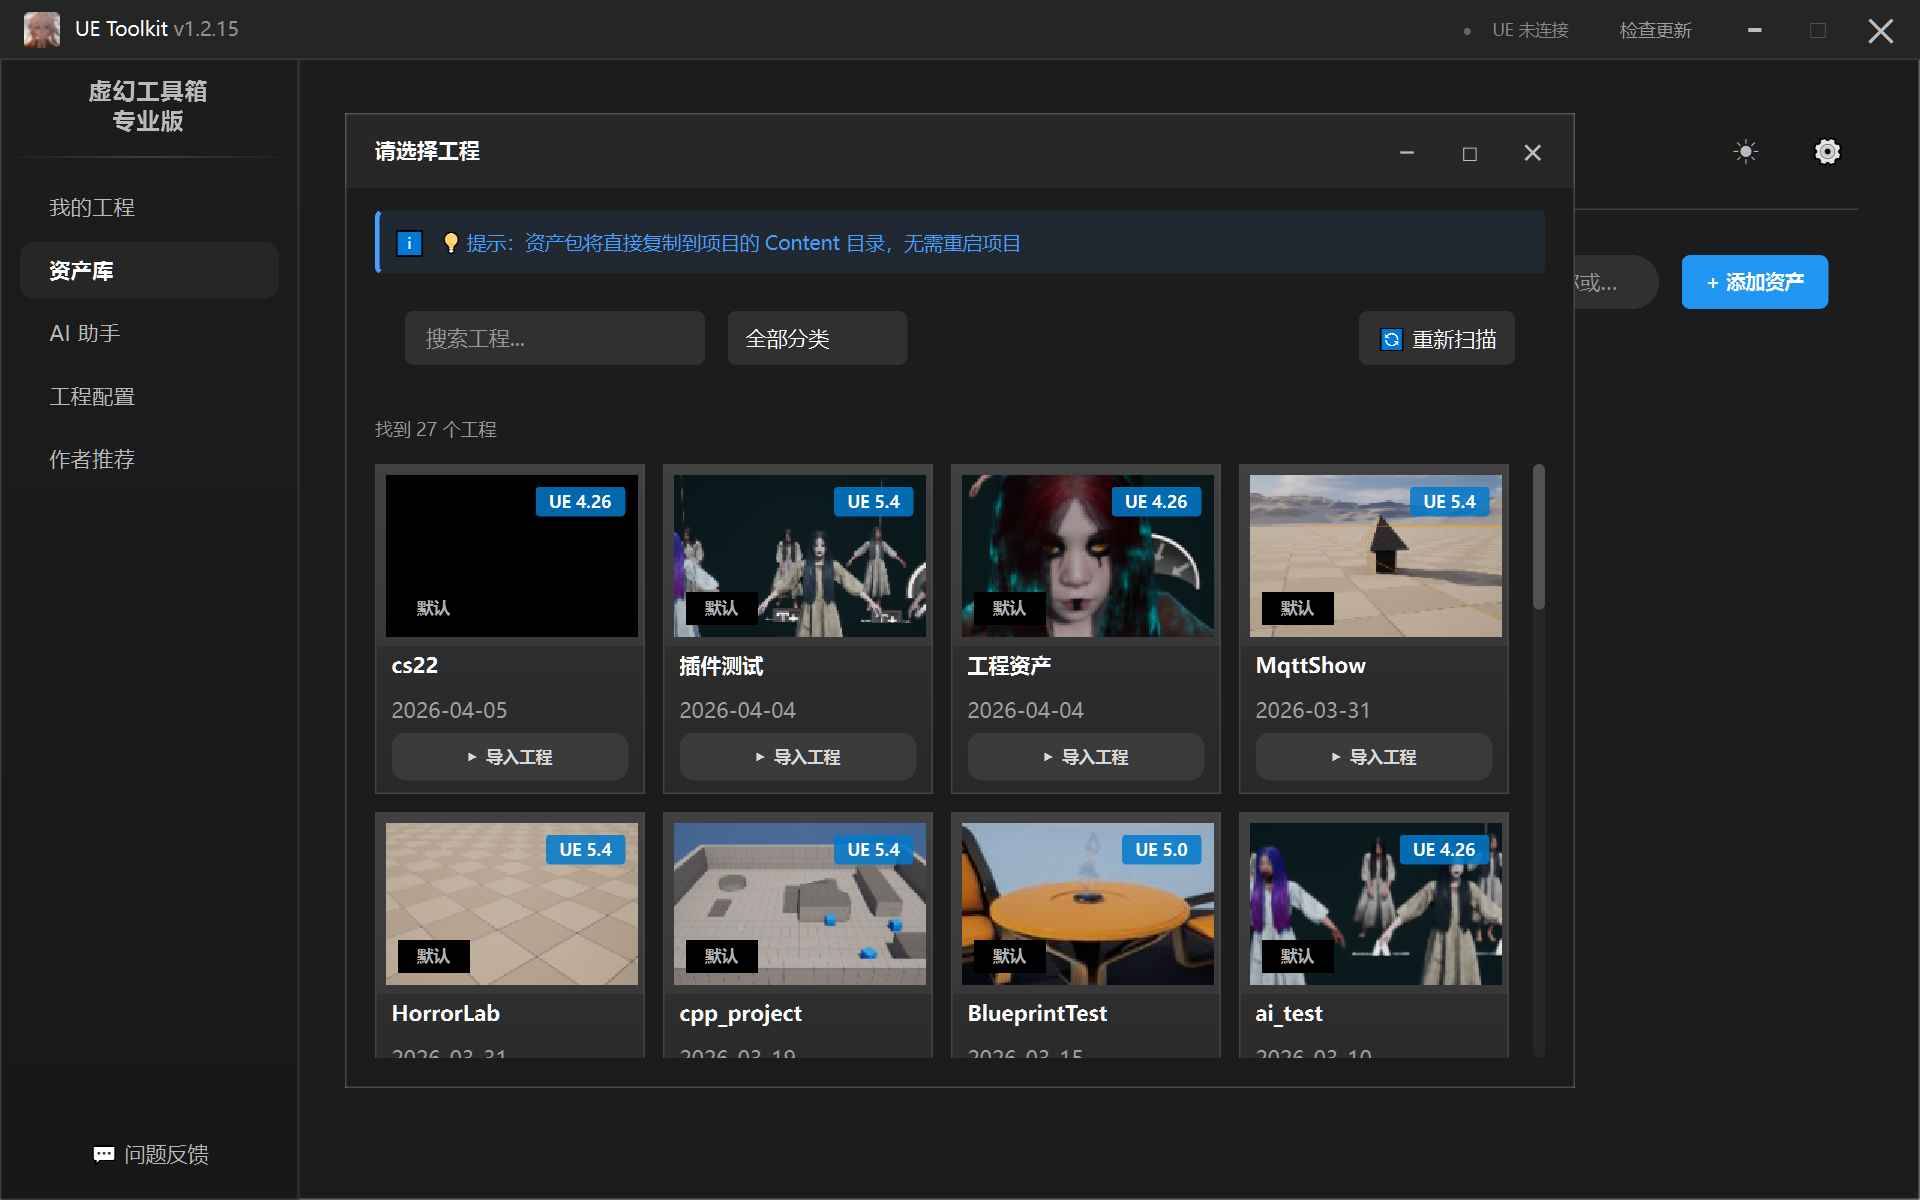
Click the Import Project button to successfully import.
3. AI Assistant
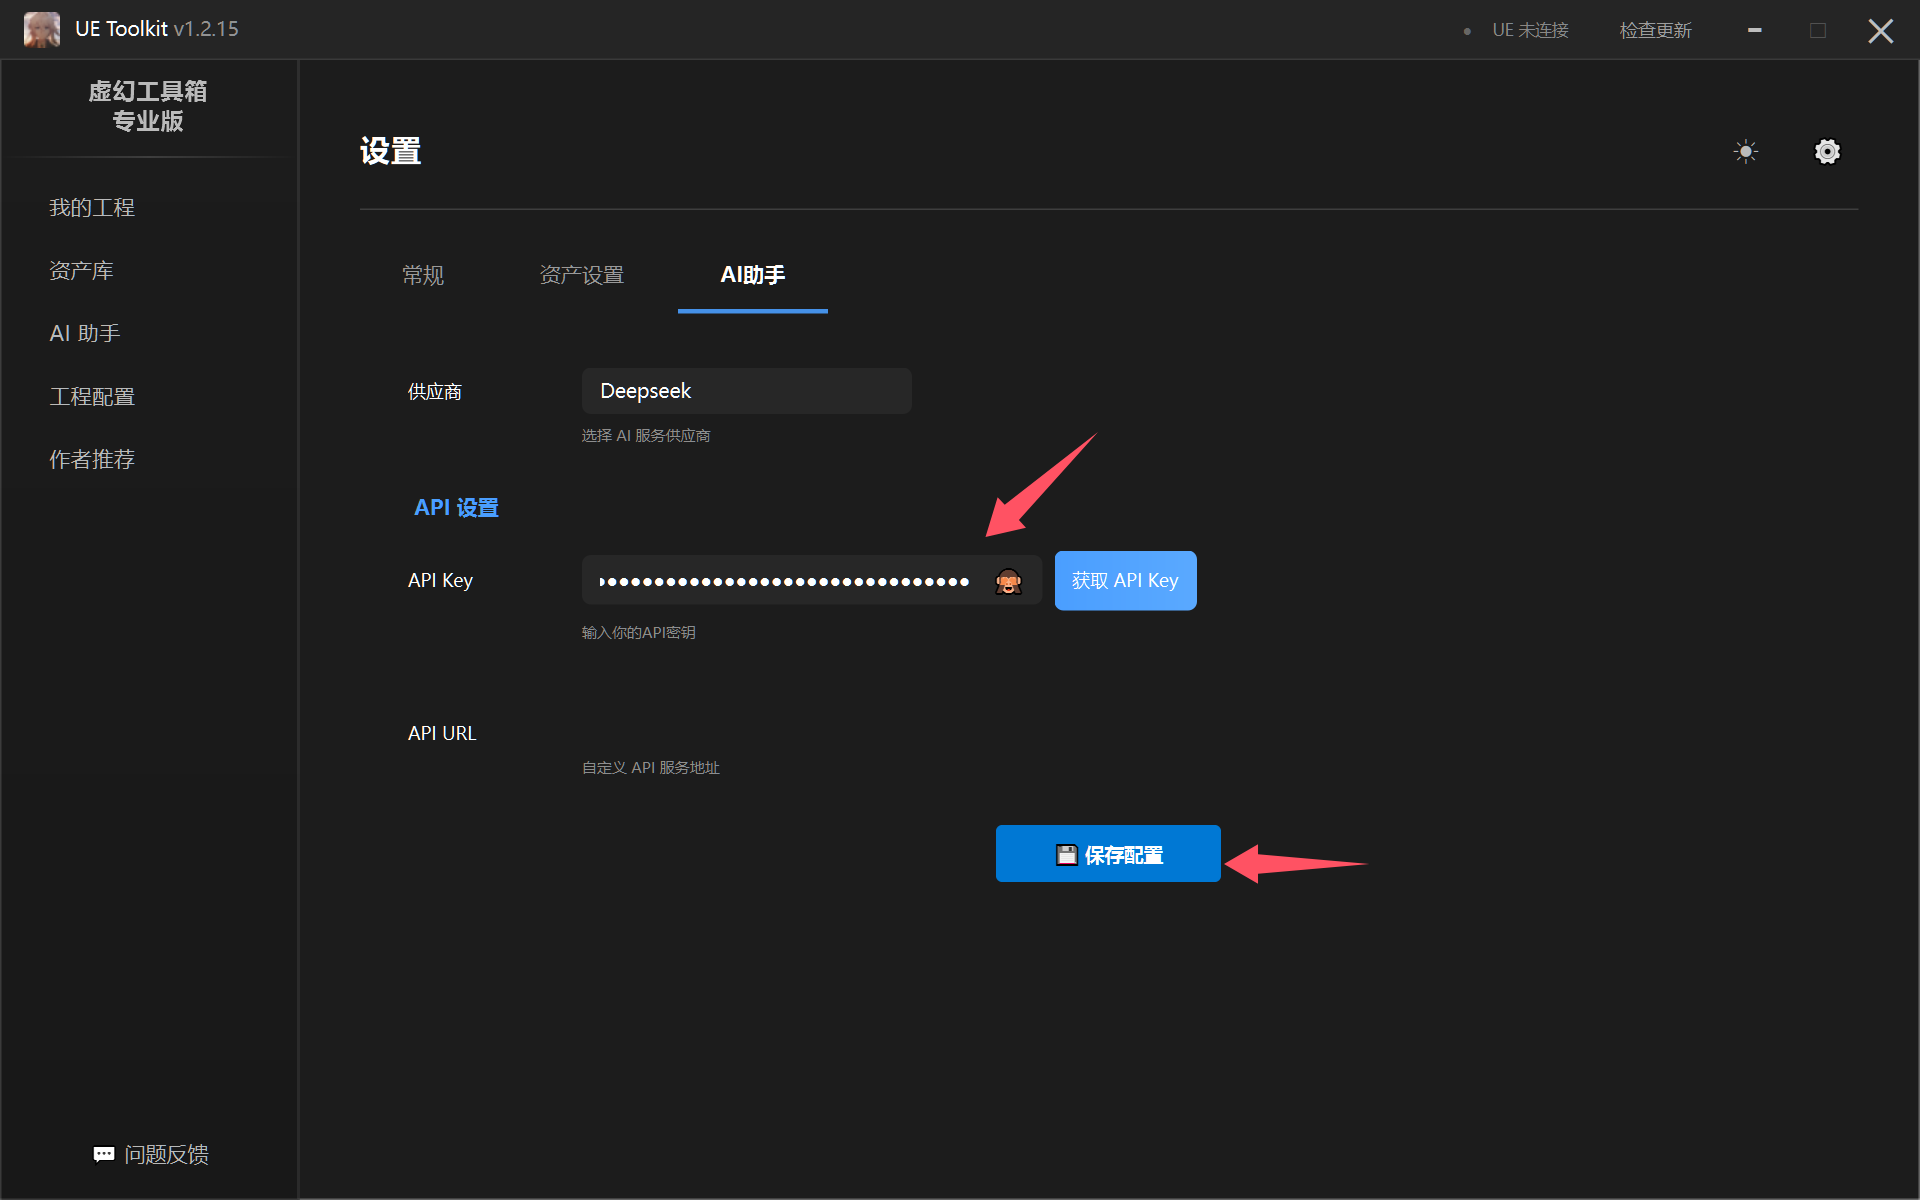
3.1 AI Assistant Configuration
AI assistant supports configuration for mainstream model providers and BYOK custom provider configuration, ollama. Just enter the key. Custom configuration requires entering URL.
Open Settings -> AI Assistant, enter key, then save configuration:
Simple test:
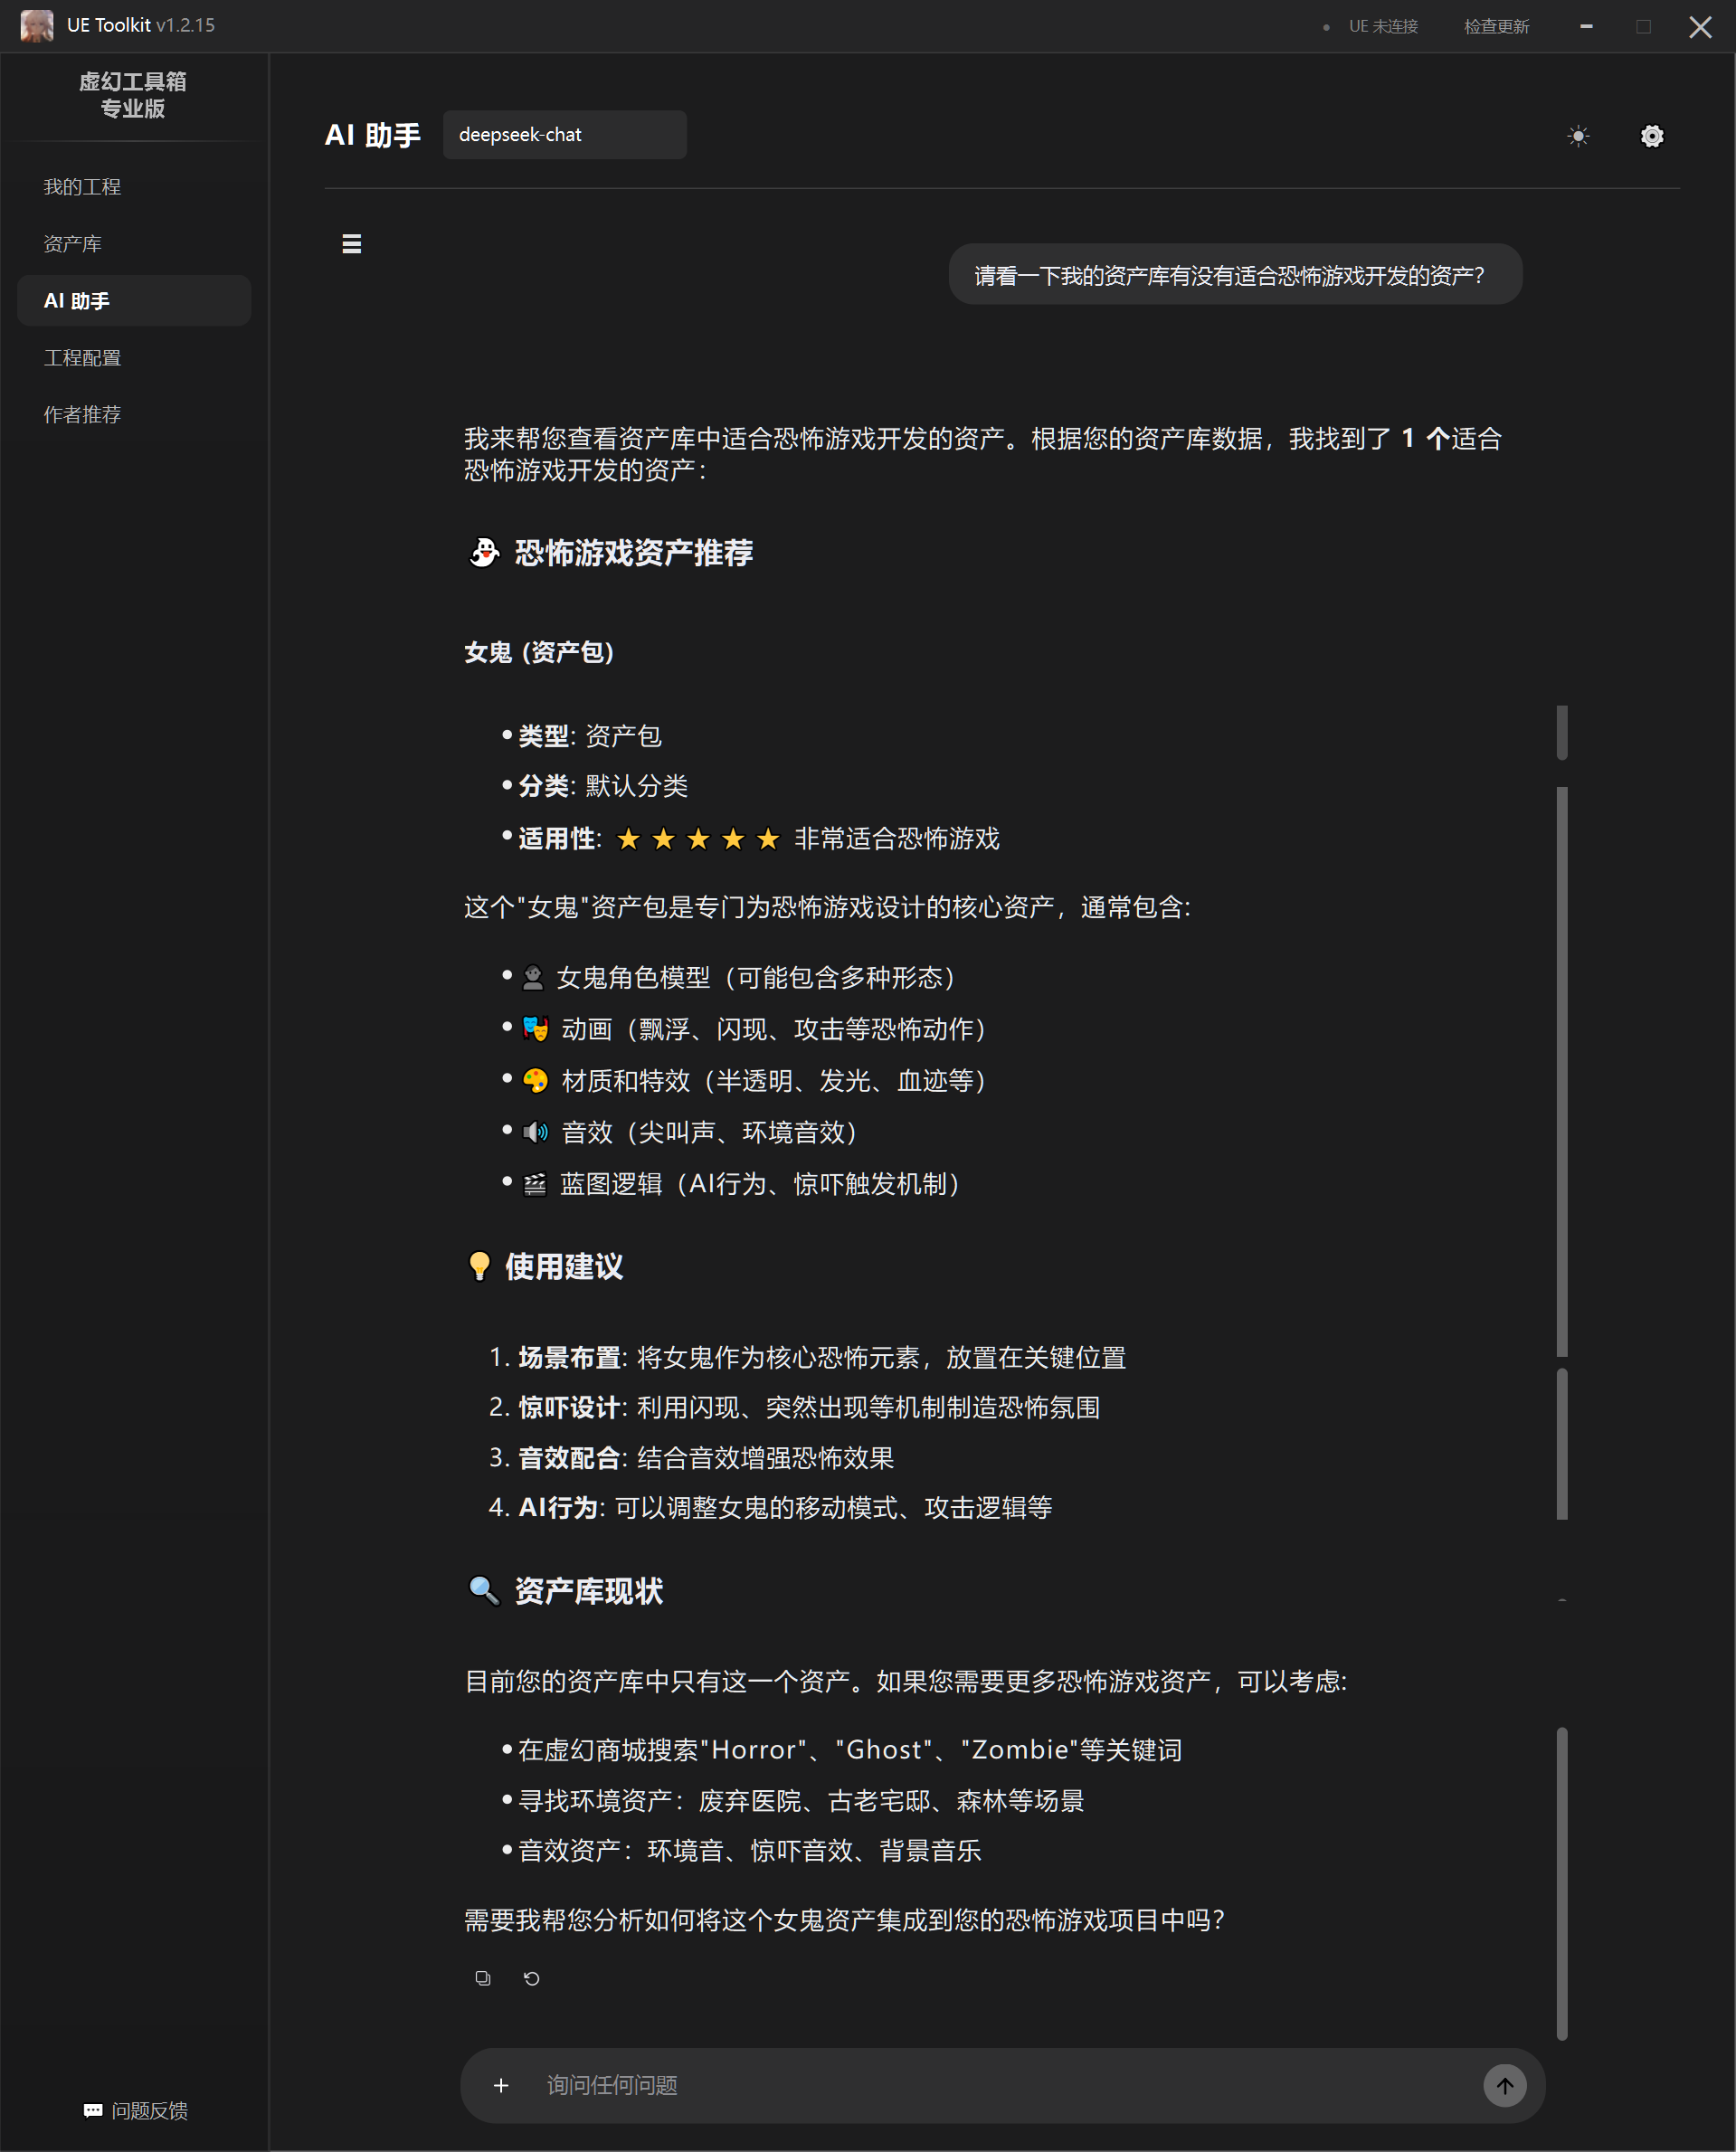

You can see it performed detailed analysis of the asset.
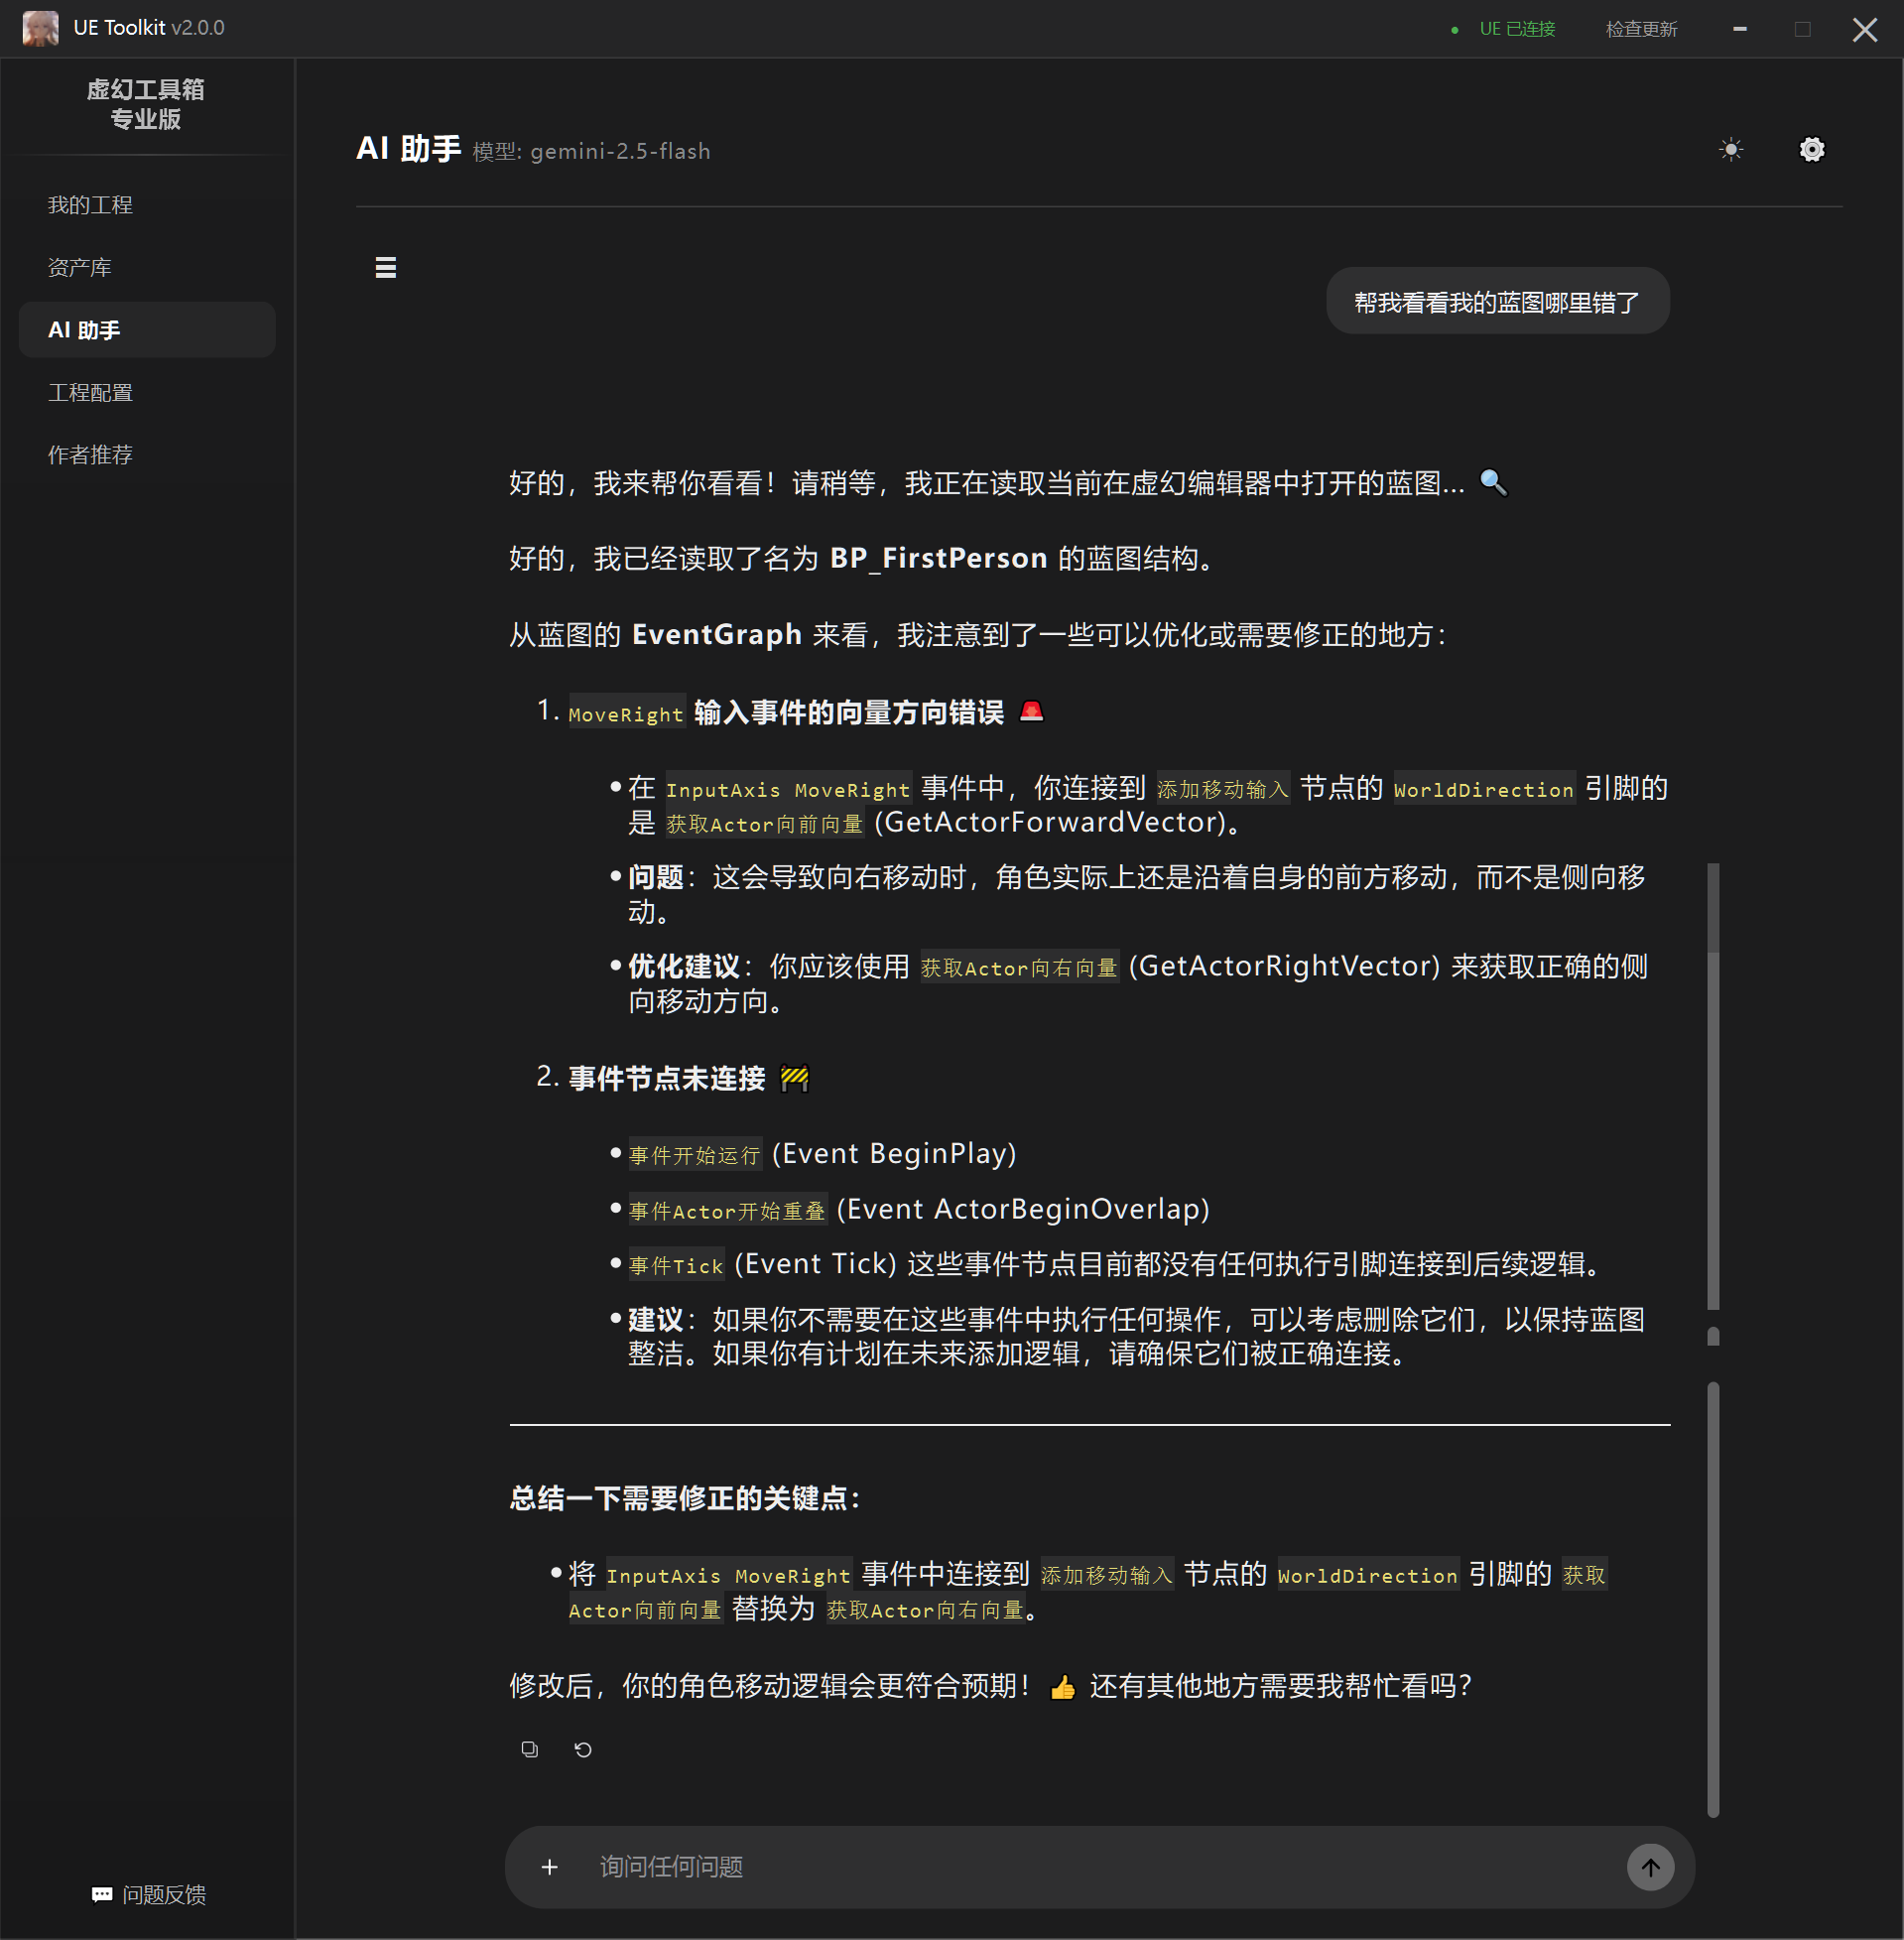
3.2 Blueprint Analysis
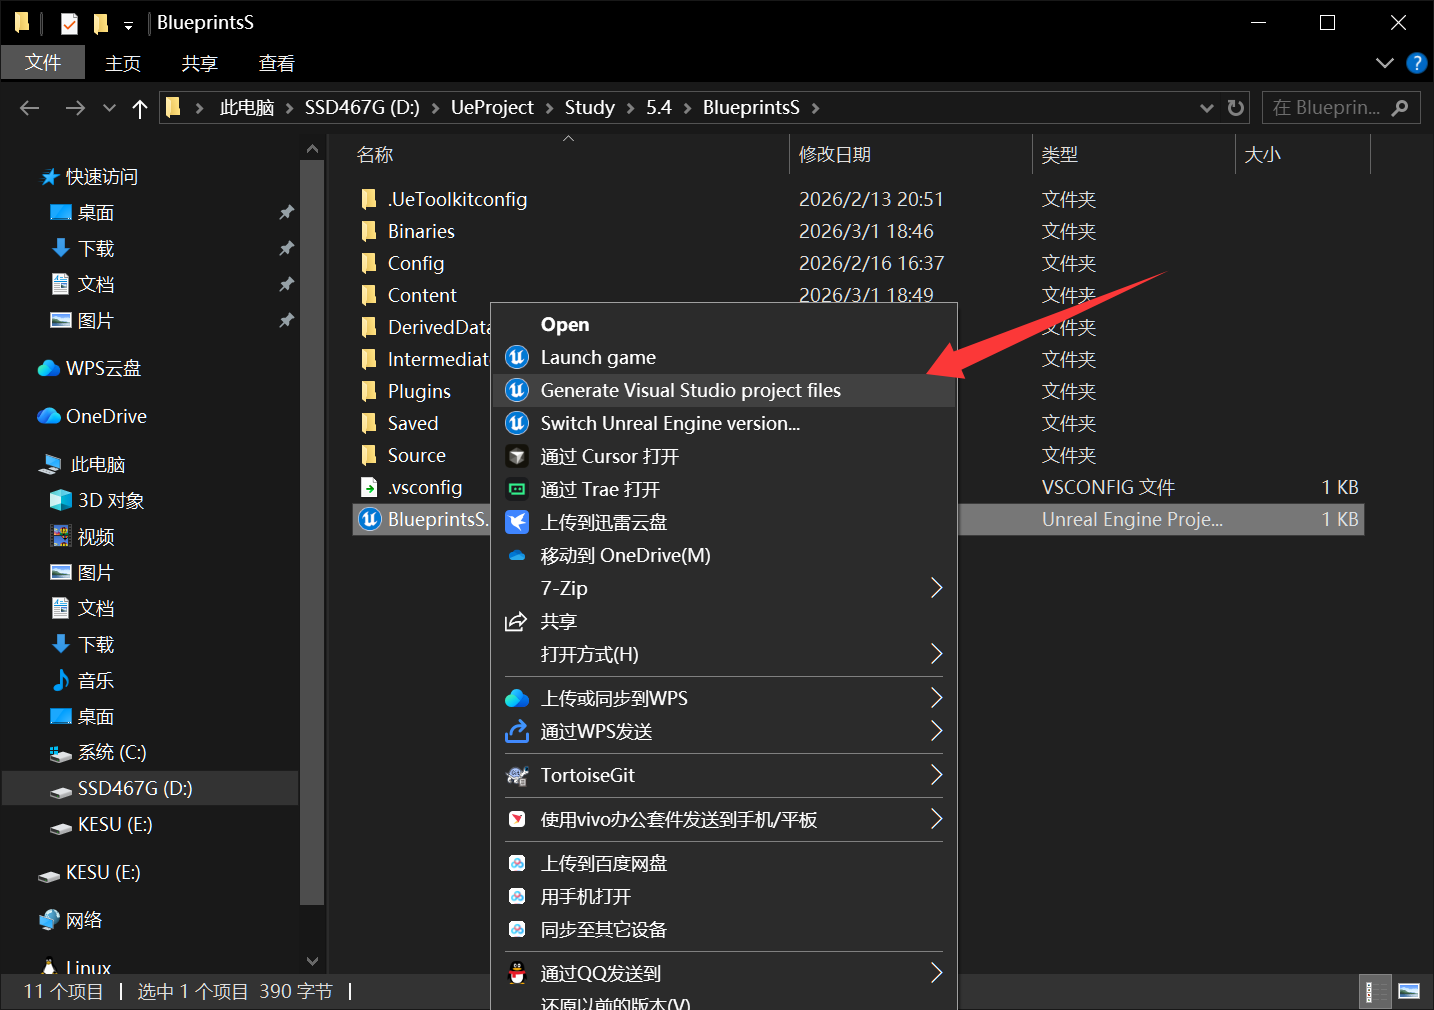
Blueprint Analysis (currently only supports UE 5.4)
Blueprint analysis requires plugin cooperation. First place the plugin in the project’s Plugins folder. If it’s a C++ project, compile after placing the plugin. If it’s a Blueprint project, after placing the plugin, right-click the project file and click the option shown in the image to compile the plugin:
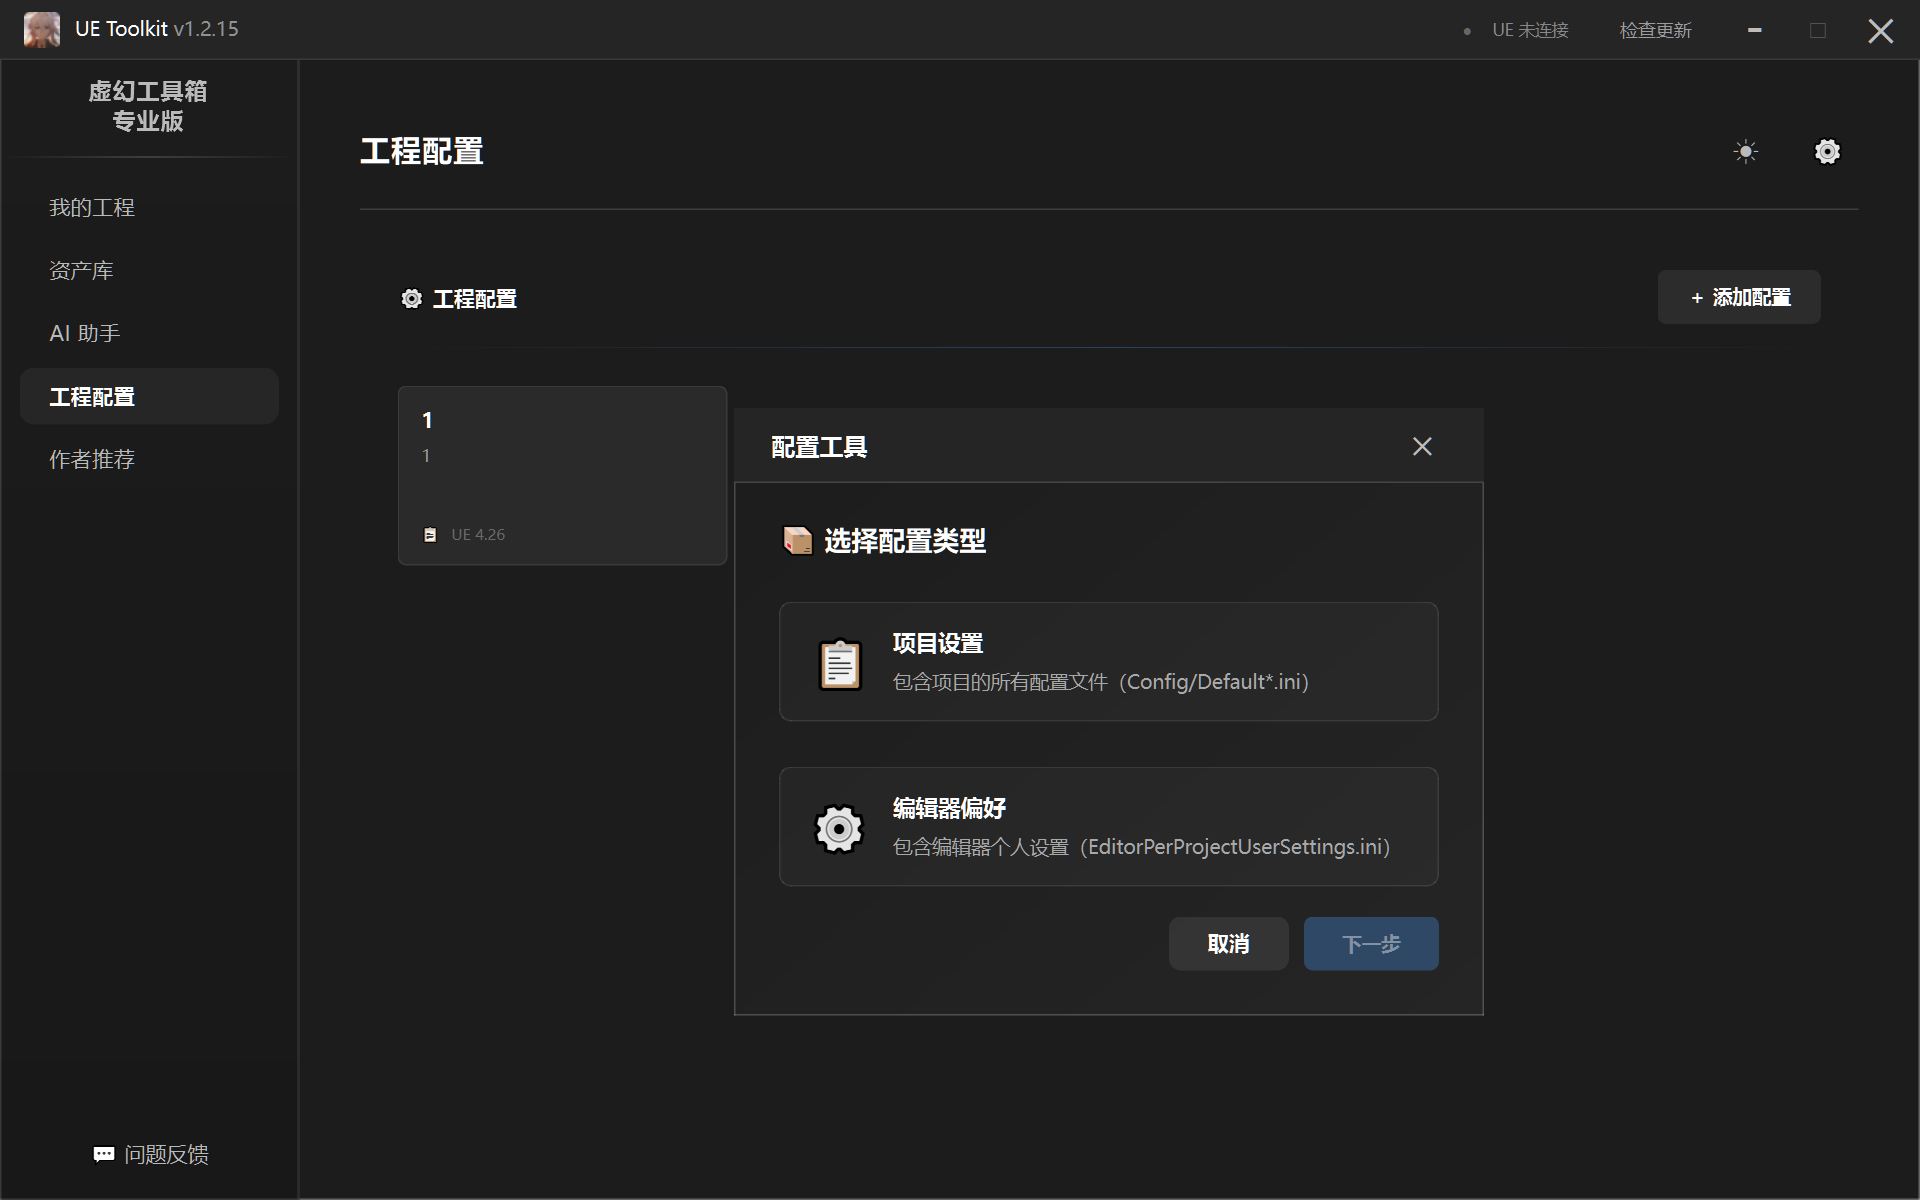
4. Configuration Tools
Configuration tools can extract configurations from existing projects and apply them to other projects. Extractable configurations include two categories: Project Settings and Editor Preferences.
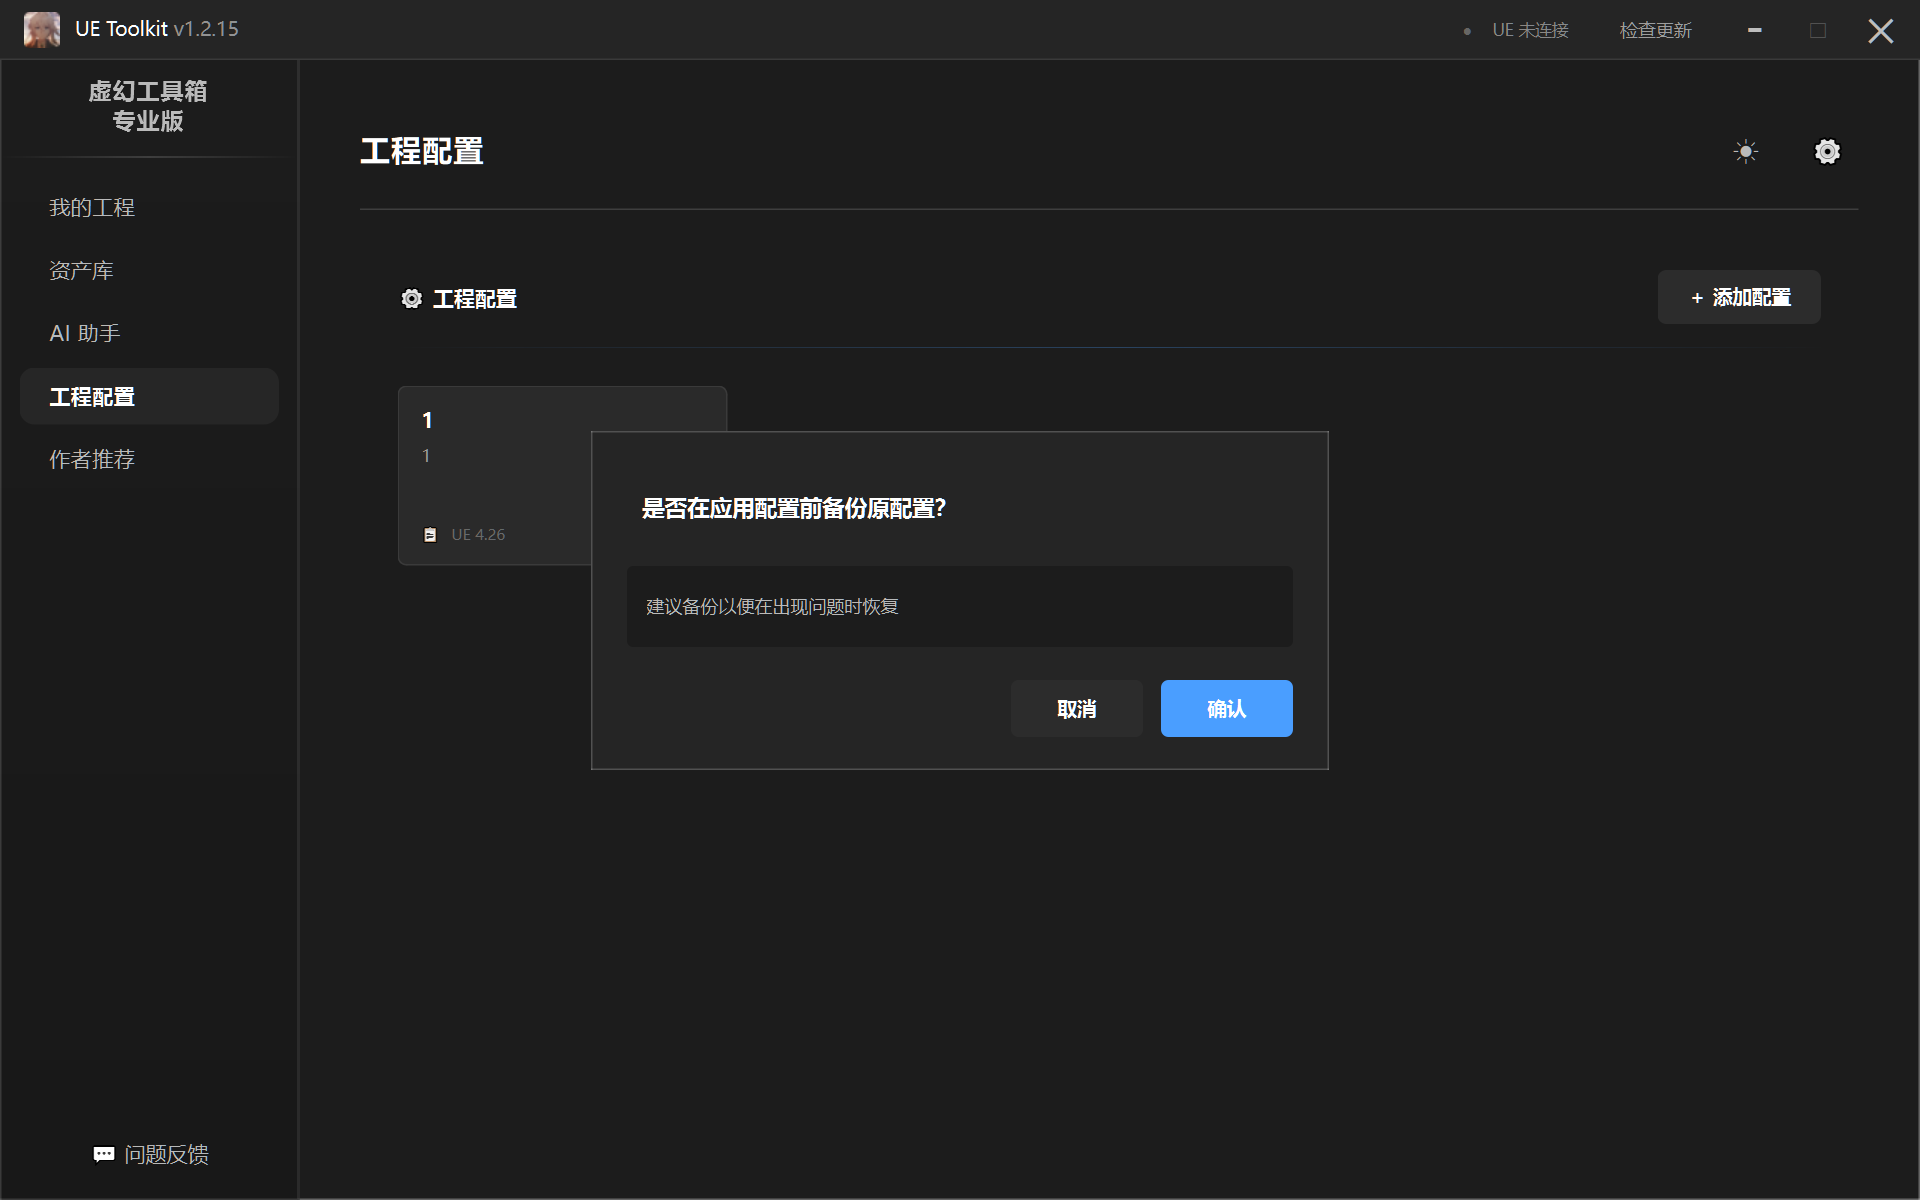
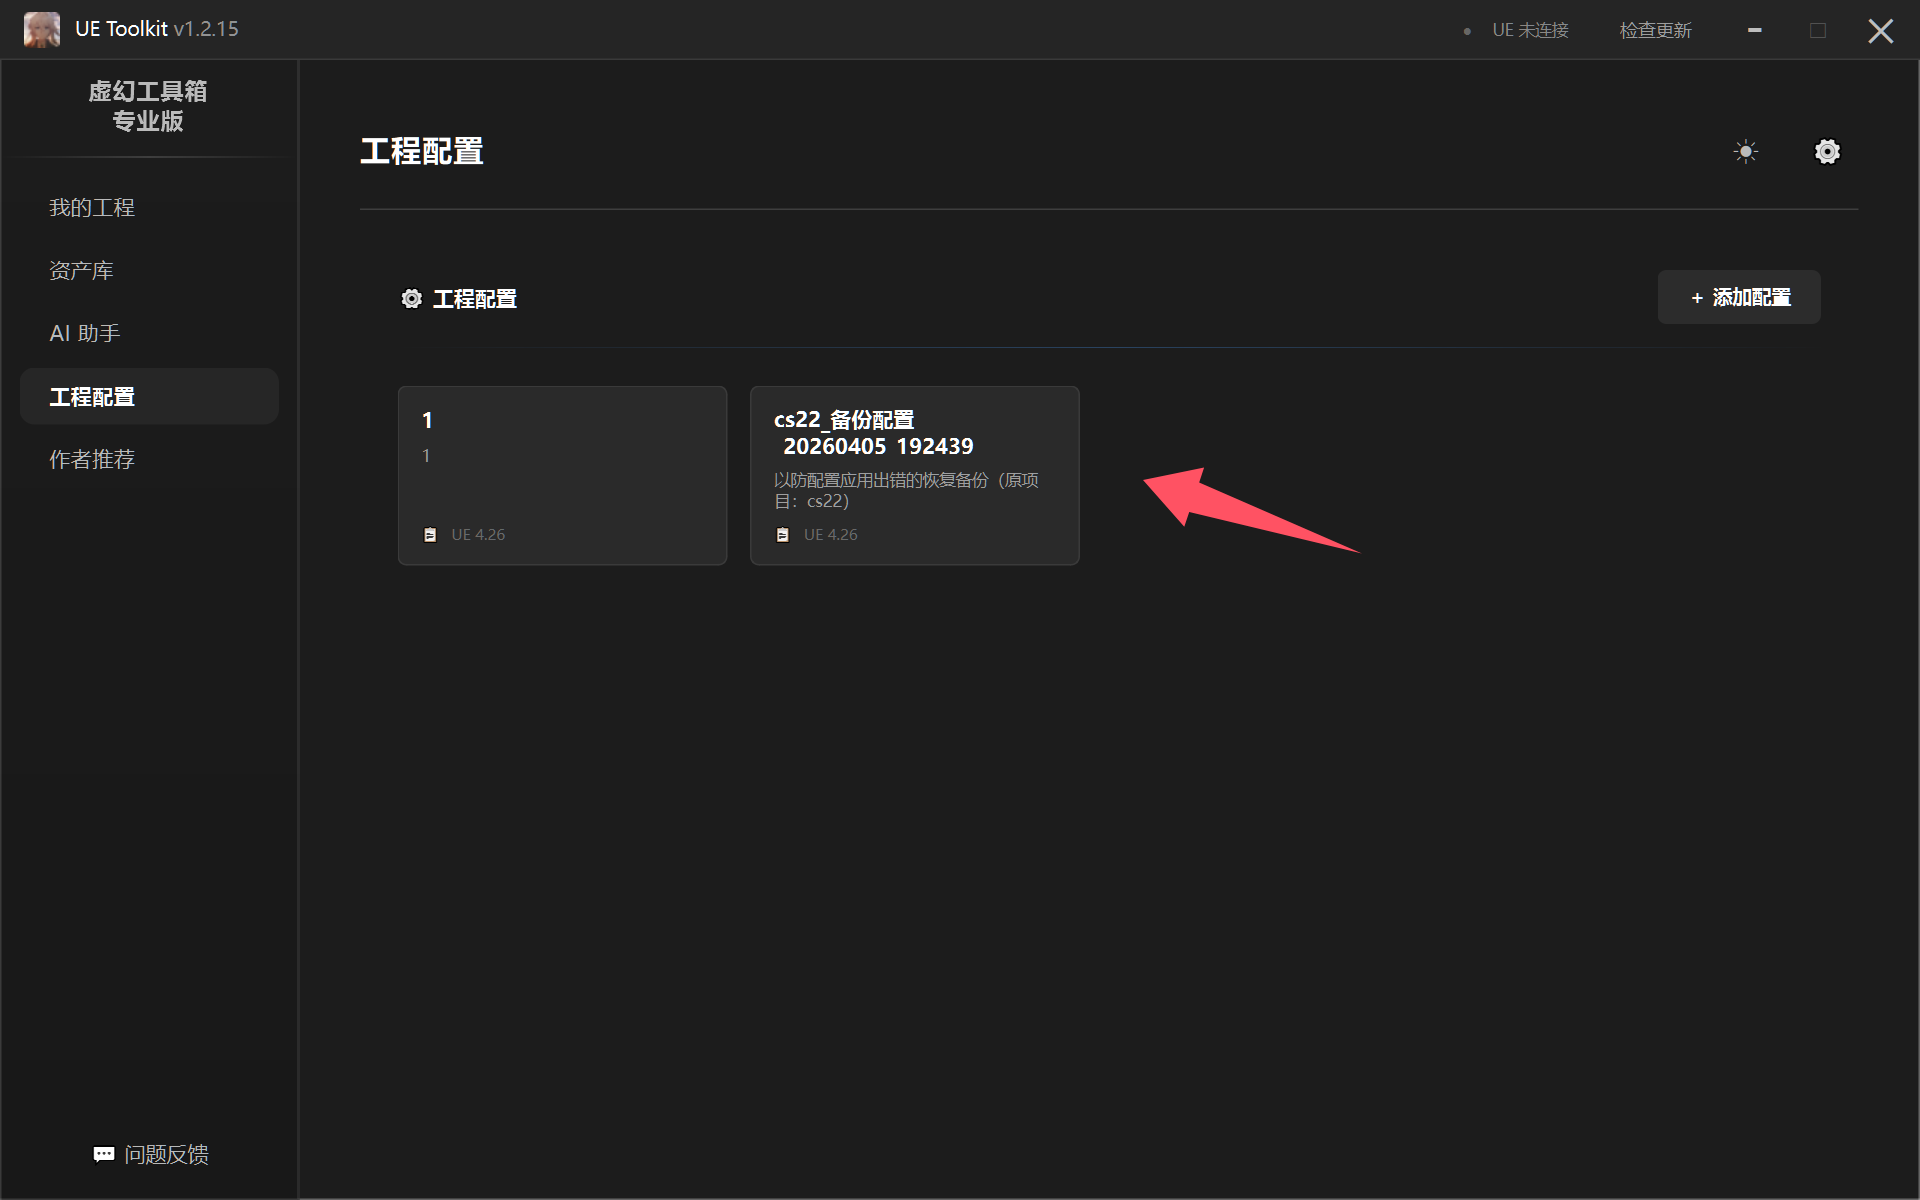
After adding configuration, left-click to select the project to apply to. Pay attention to version when applying:
When applying, you can choose to backup original configuration. If problems occur, you can rollback:
5. Issue Feedback
If you have issues, you can click the Issue Feedback button in the lower left corner of the toolbox for feedback, or join the official communication group and @ the group owner
QQ Group: 1048699469